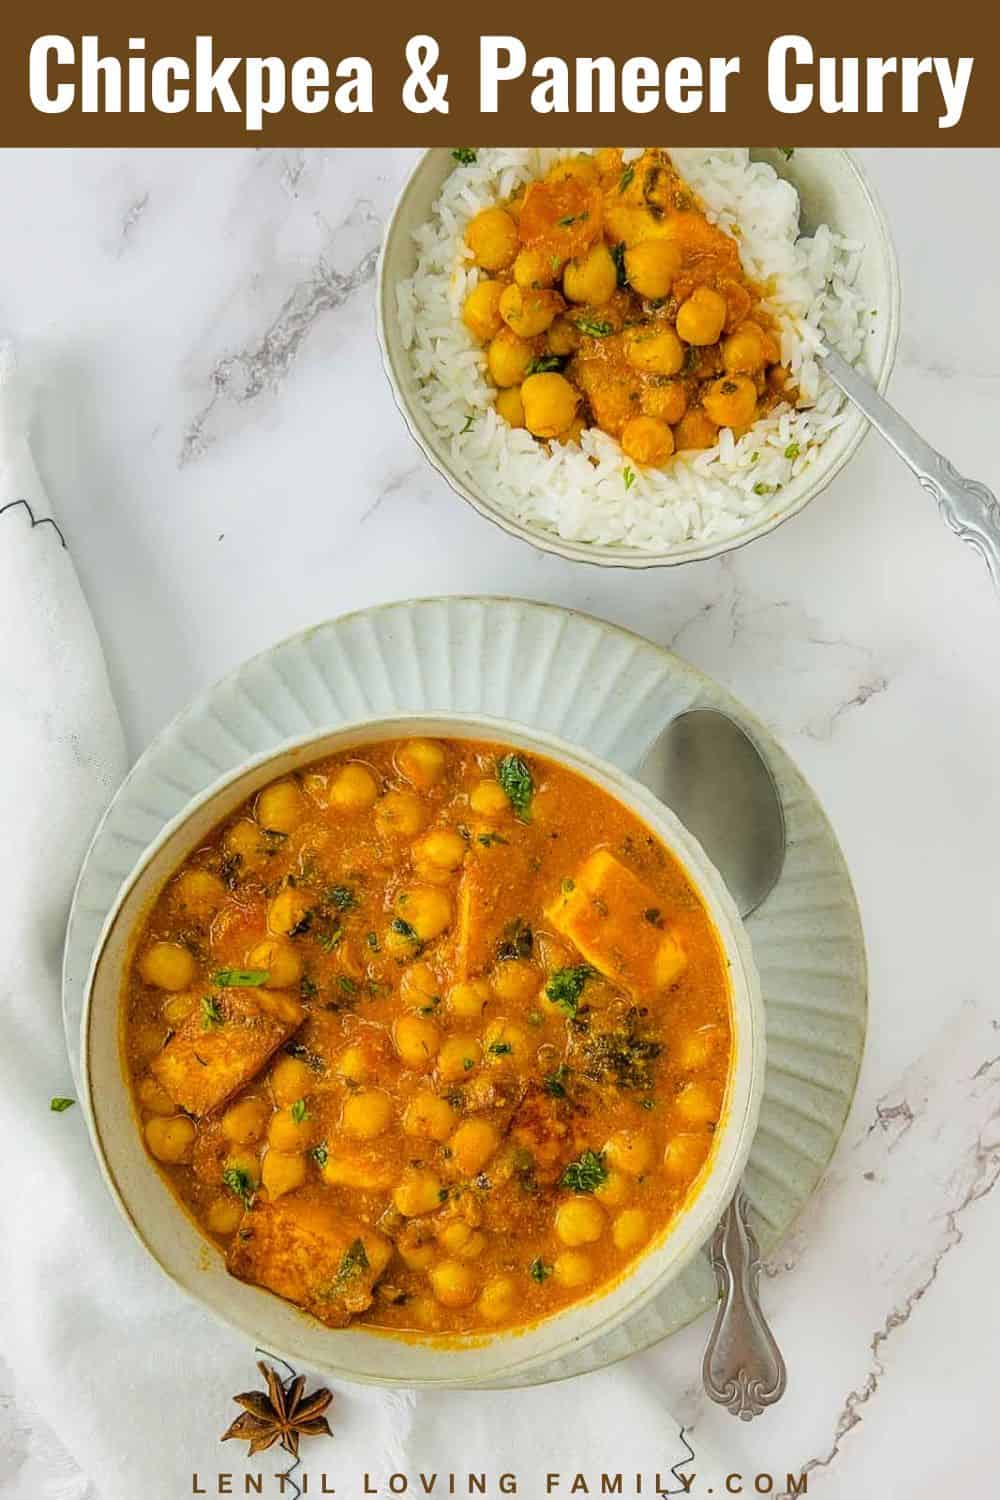
Chana Paneer (Chickpea and Paneer Curry) – No Onion, No Garlic
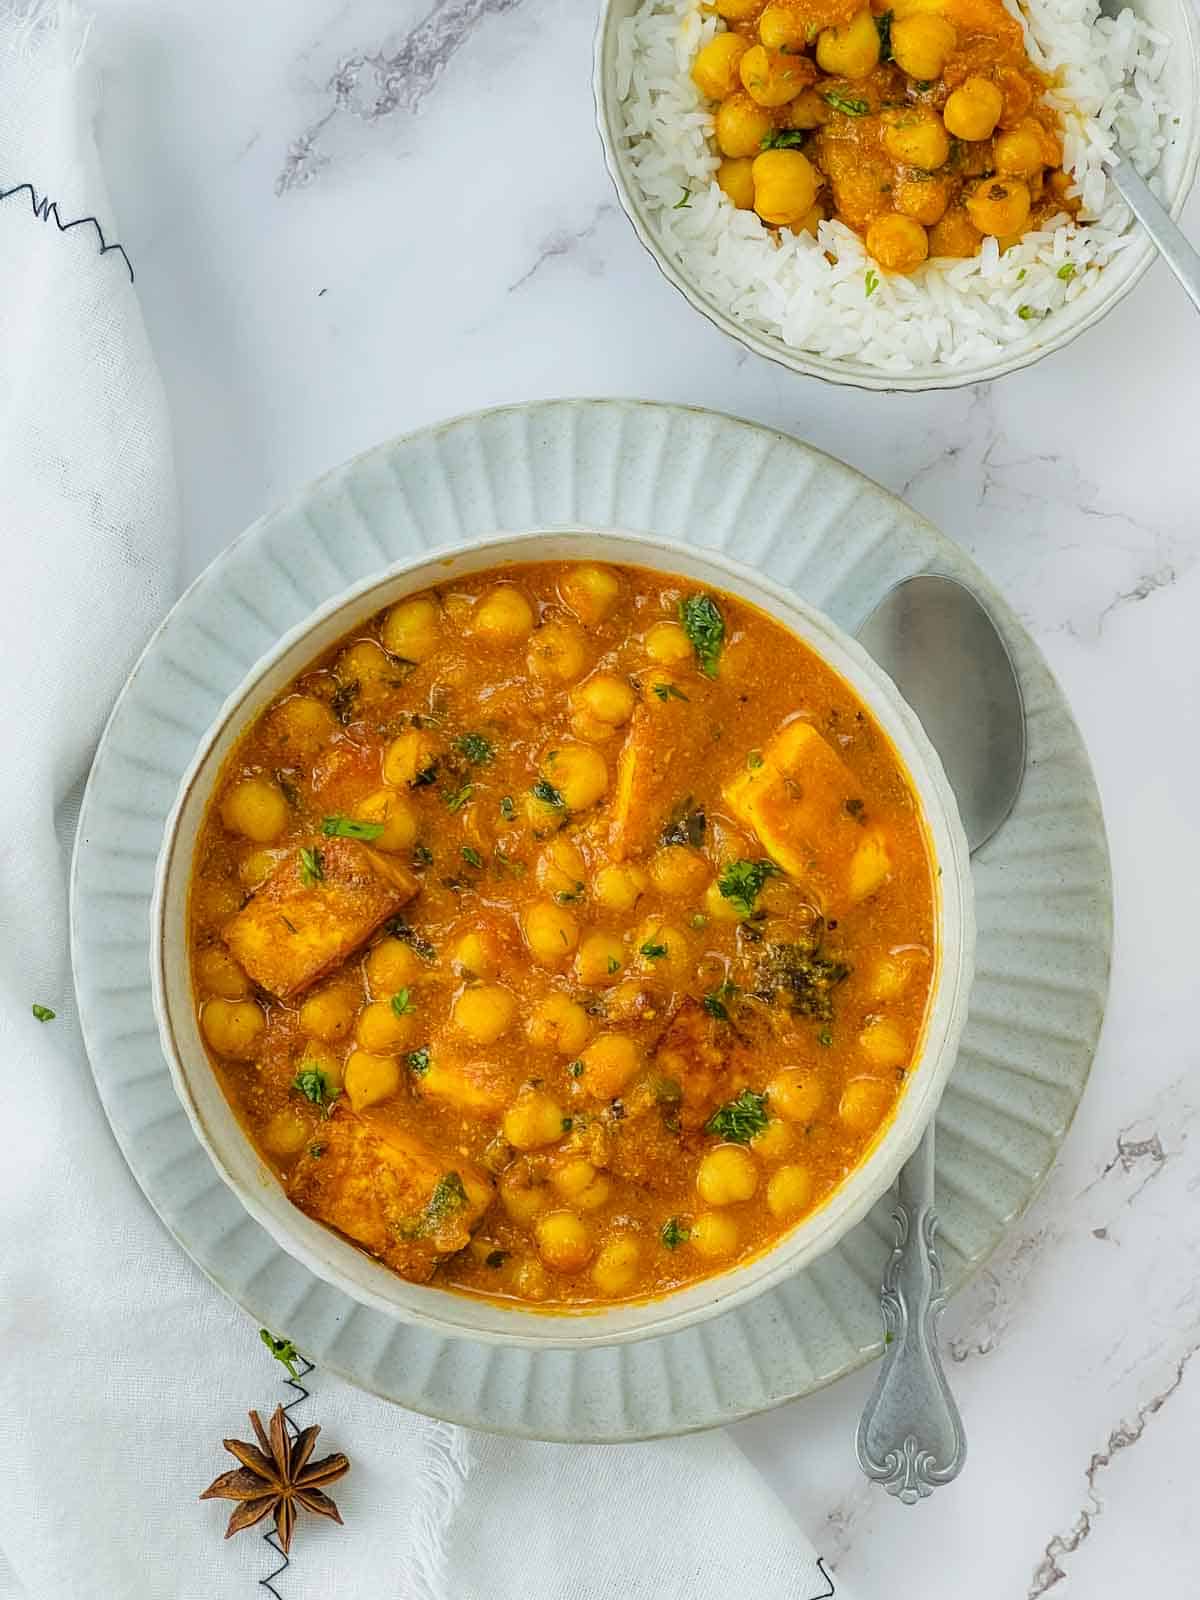
This one-pan chana paneer recipe is a breeze to make! It is a perfect combination of simplicity and authentic flavors and makes a quick and delightful meal.
Disclosure: This post may contain affiliate links. This means I get a small commission if you decide to make a purchase through my links at no extra cost to you.
What’s not to love about this dish? It is made with the perfect blend of convenience and flavor. The omission of onions and garlic caters to various dietary preferences, saves time in the kitchen, and the leftovers taste even better! The use of canned chickpeas adds a level of ease without compromising the rich, aromatic essence of traditional chana paneer.
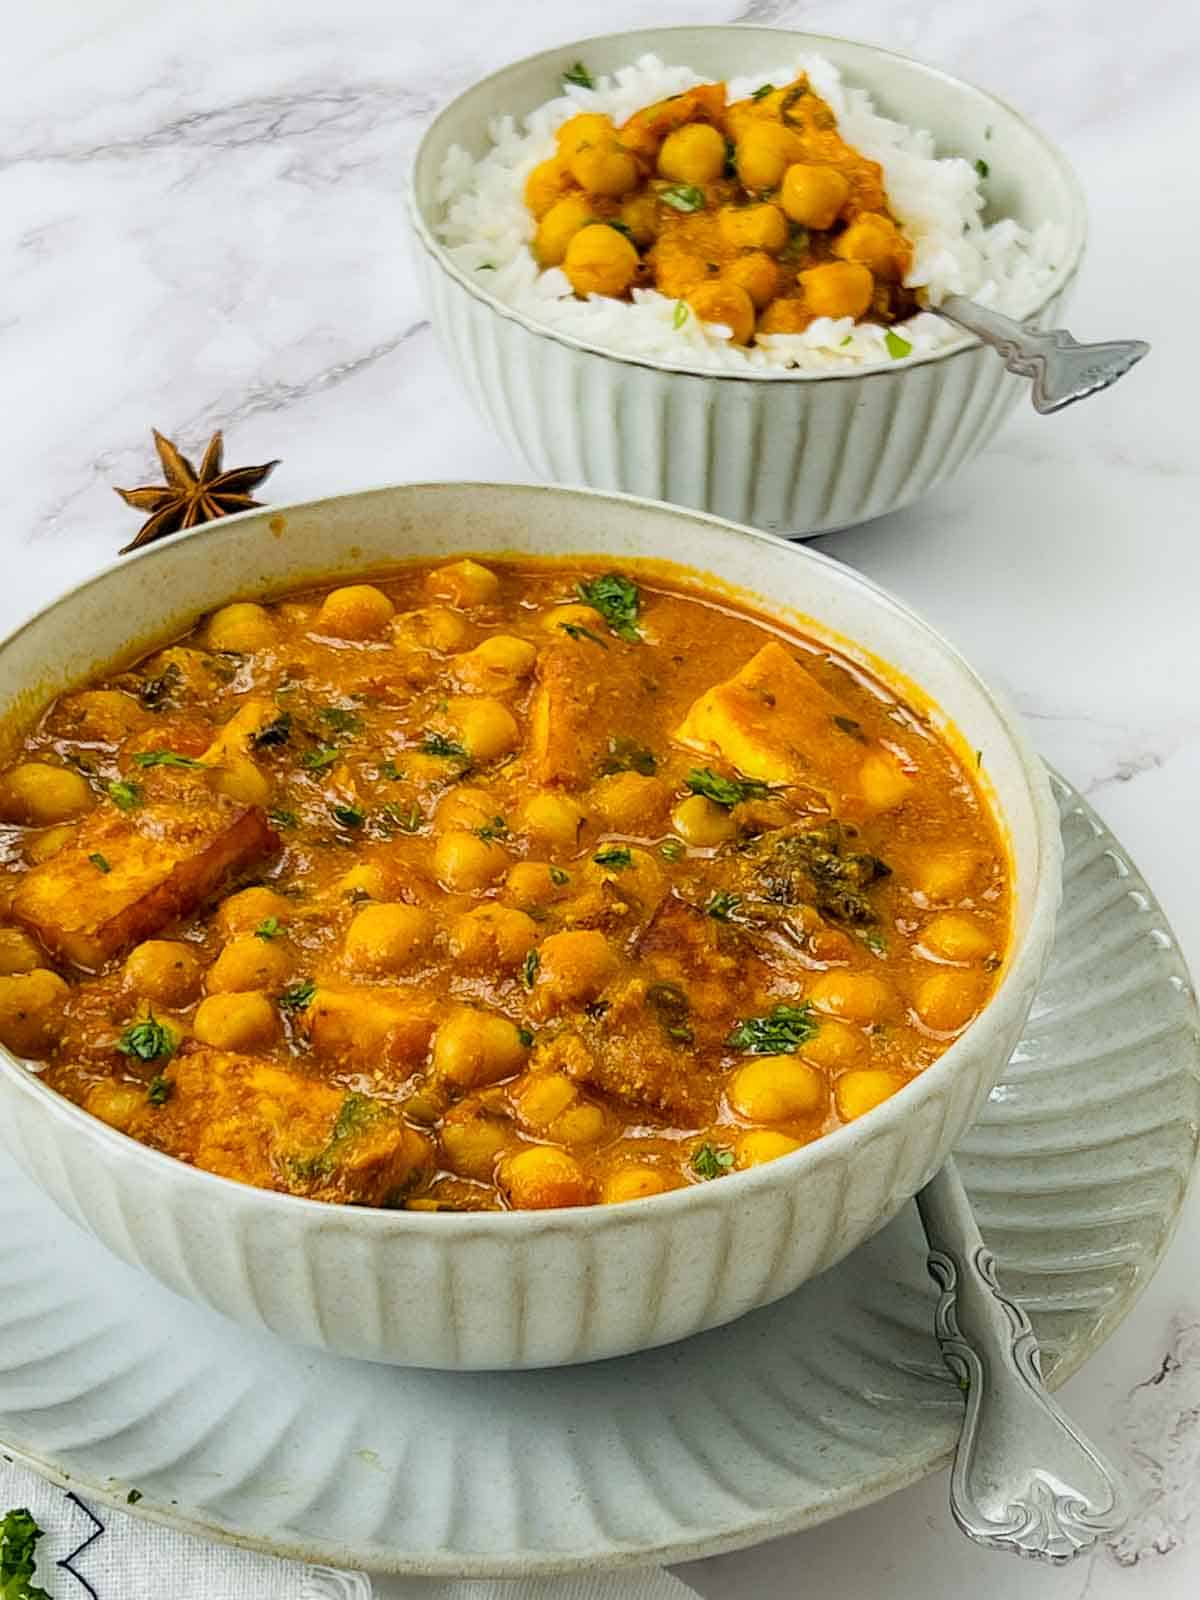
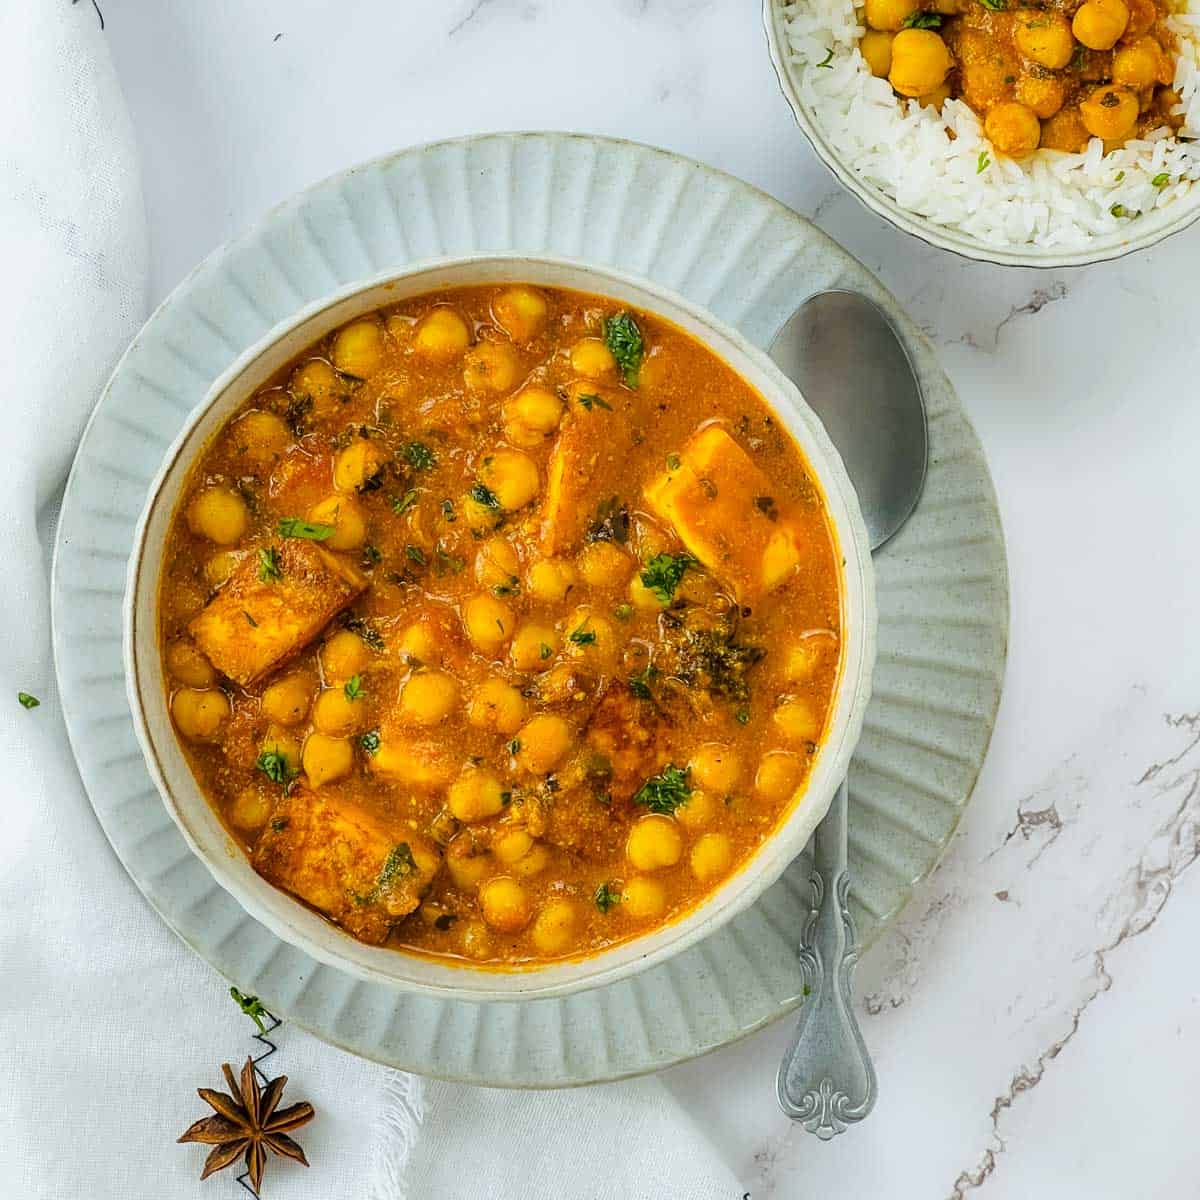
Also called chole paneer, this flavorful and hearty dish can be paired with basmati rice, roti, or chapati for a wholesome meal. Perfect for a quick weeknight dinner or equally fitting for a potluck, this recipe is a go-to if you are looking for simplicity, taste, and convenience.
Ingredients
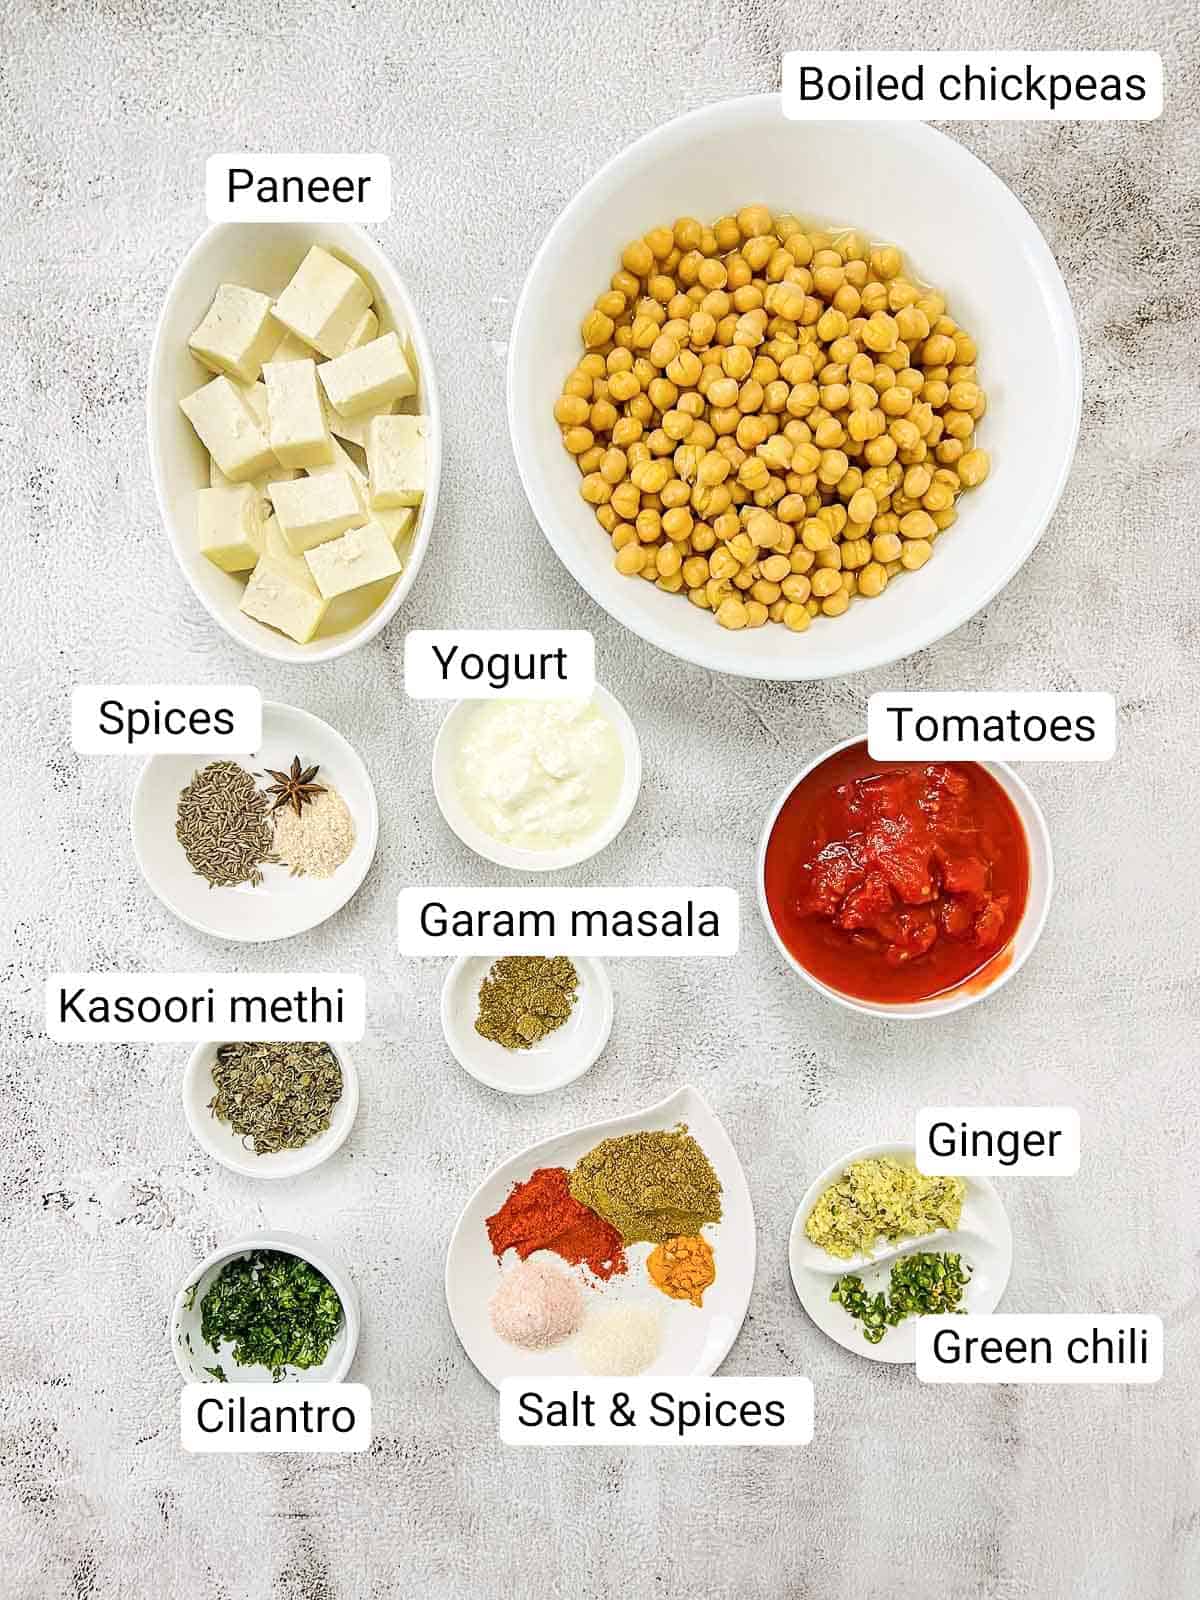
Chickpeas: We need cooked chickpeas for this dish. You can use canned chickpeas or cook dried chickpeas in an Instant Pot at home.
Paneer: Make sure the paneer is fresh for this dish. I am shallow frying the paneer before adding it to the curry; however, this step is optional and can be skipped.
Spices: I am using star anise, cumin seeds, hing, ground coriander, paprika, turmeric powder, and garam masala powder.
See the recipe card for the complete list of ingredients and quantities.
Substitutions and Variations
- For a vegan version, replace paneer with extra firm tofu and skip the yogurt.
- Chickpeas can be replaced with other canned beans like kidney beans, black beans, or pinto for a change in flavor and texture.
- You can also make this dish with onion and garlic. Add them along with ginger and saute until the onions soften.
Step-by-step instructions
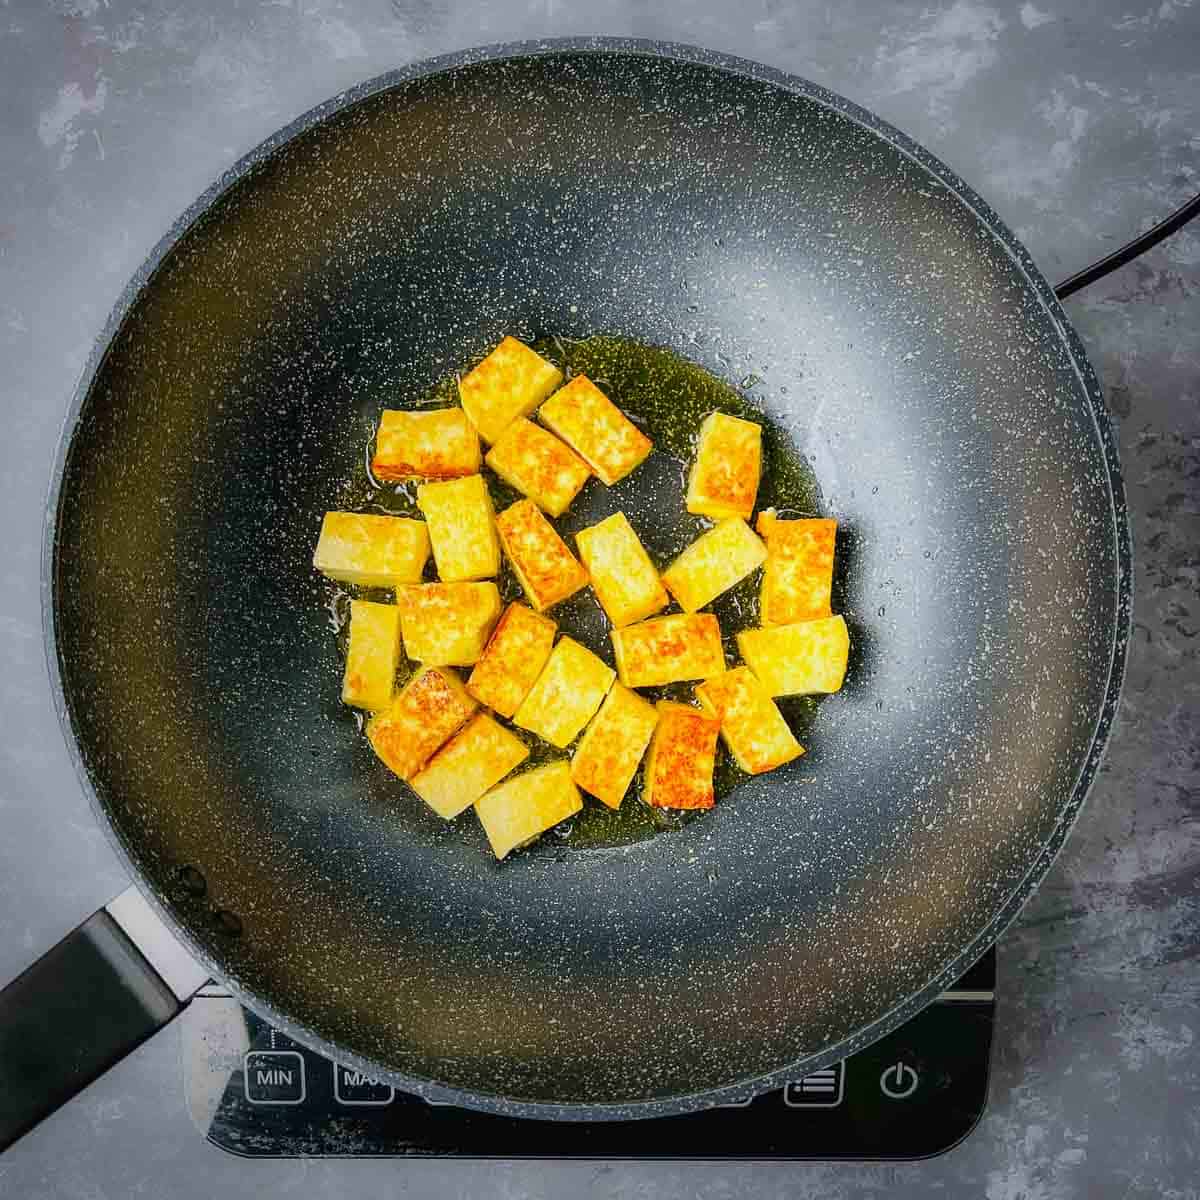
Step 1: Heat one tablespoon of oil and add the paneer cubes. Fry them until they are golden brown and set them aside.
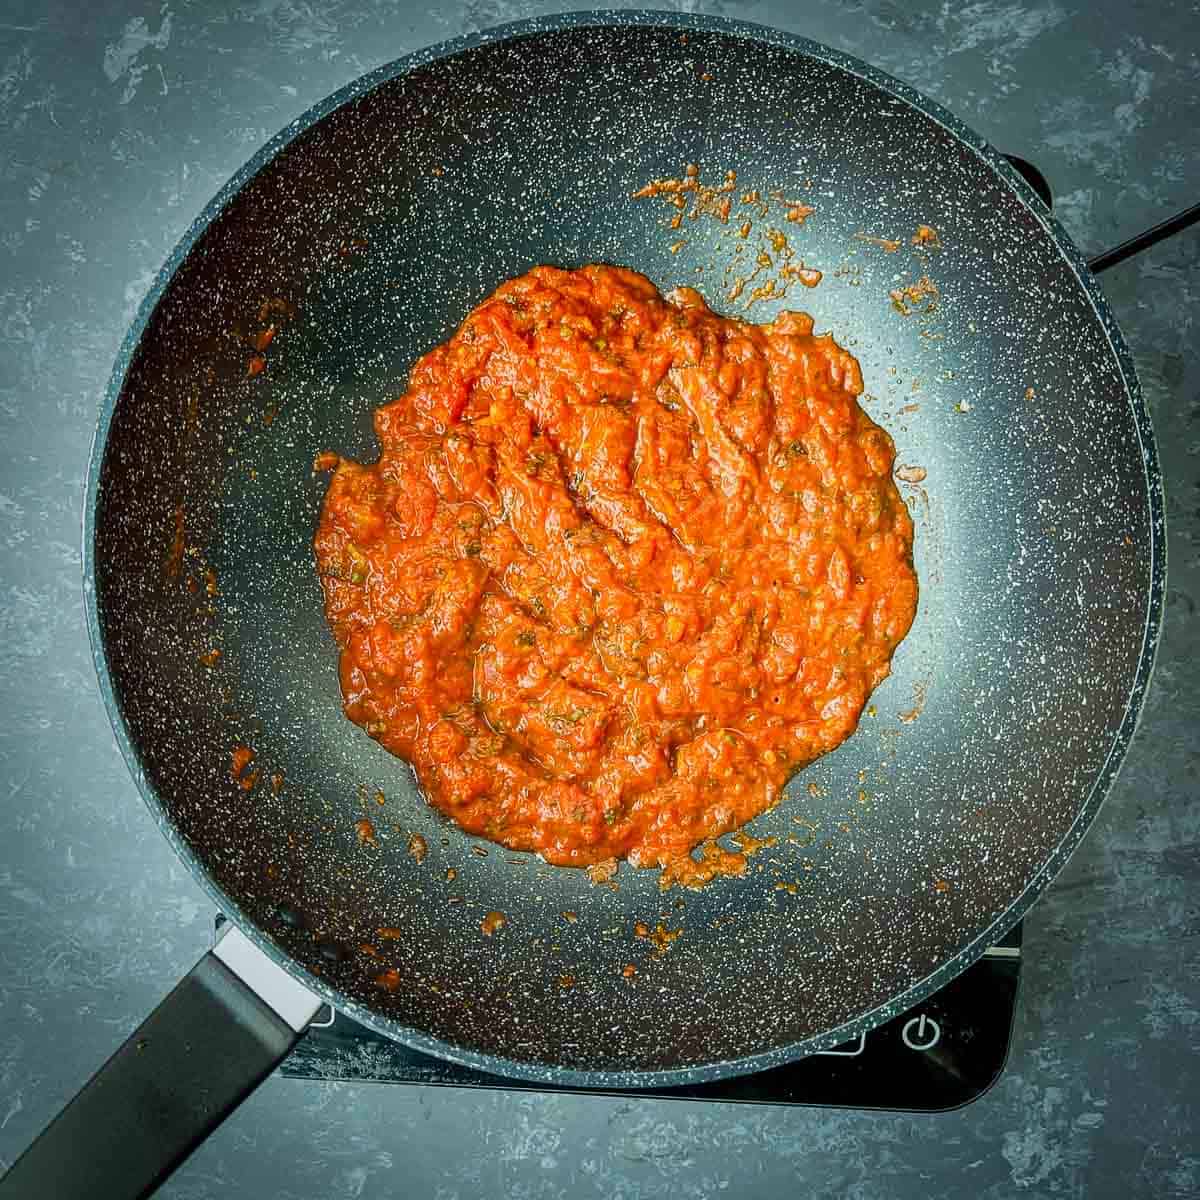
Step 2: Next, add cumin seeds, star anise, hing, ginger and green chili. Saute for one minute. Next, add the diced tomatoes, spices, salt, and sugar. Mix well and simmer until the tomatoes and spices are cooked and the oil begins to ooze out.

Step 3: Whisk the yogurt well. Once the tomatoes are cooked, add the whisked yogurt. Mix well and simmer for 2-3 minutes.
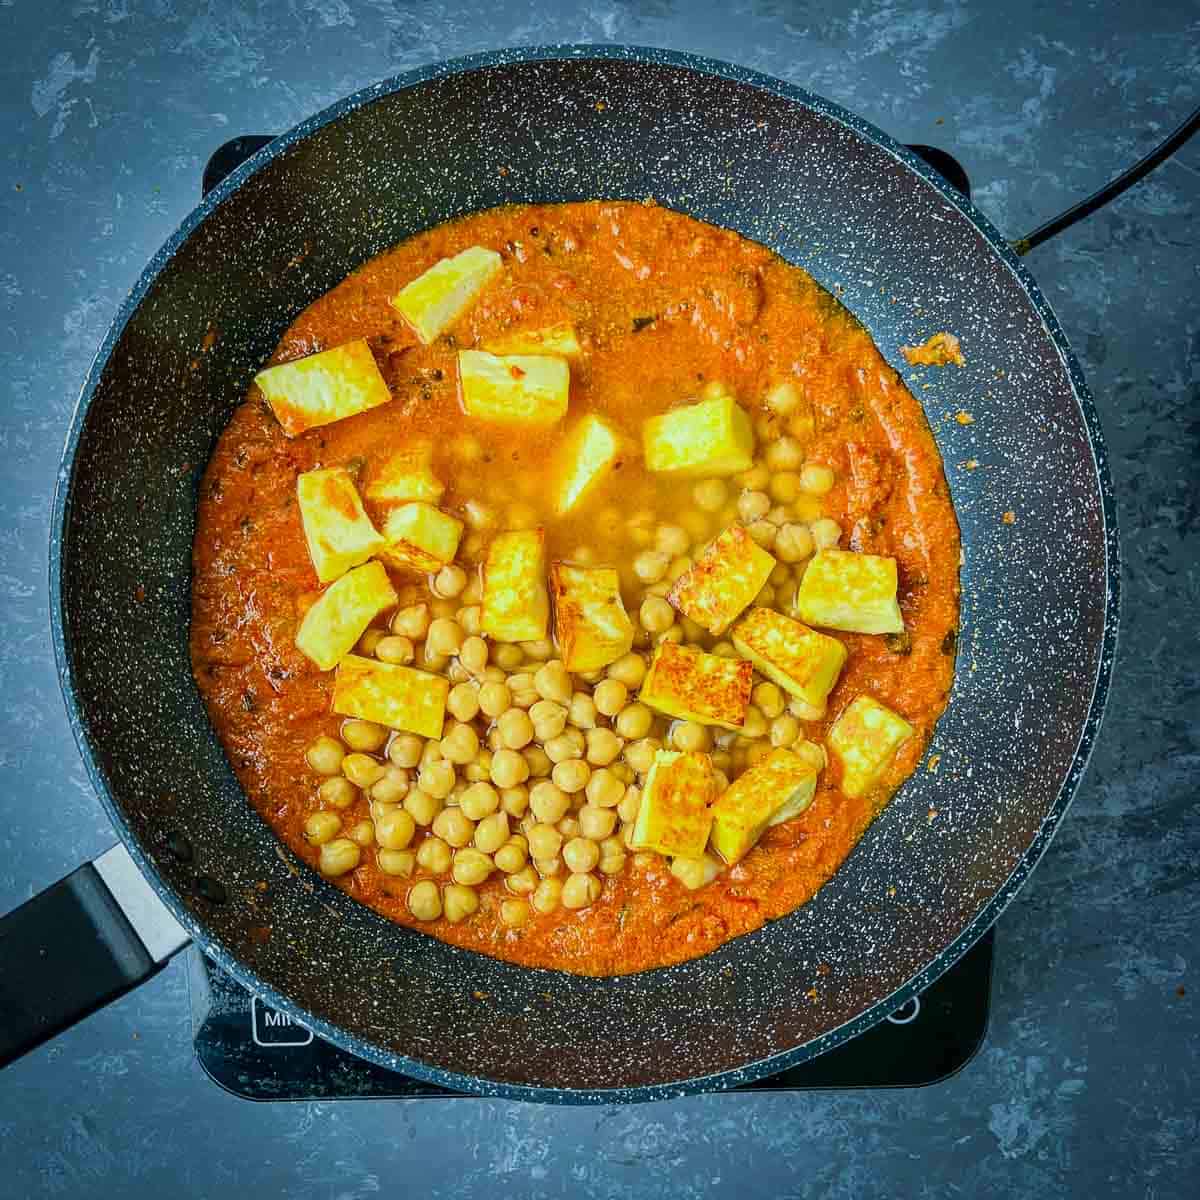
Step 4: Add the chickpeas, fried paneer cubes, and one cup of water.

Step 5: Bring it to a boil and simmer for 3-4 minutes. The curry will begin to thicken.
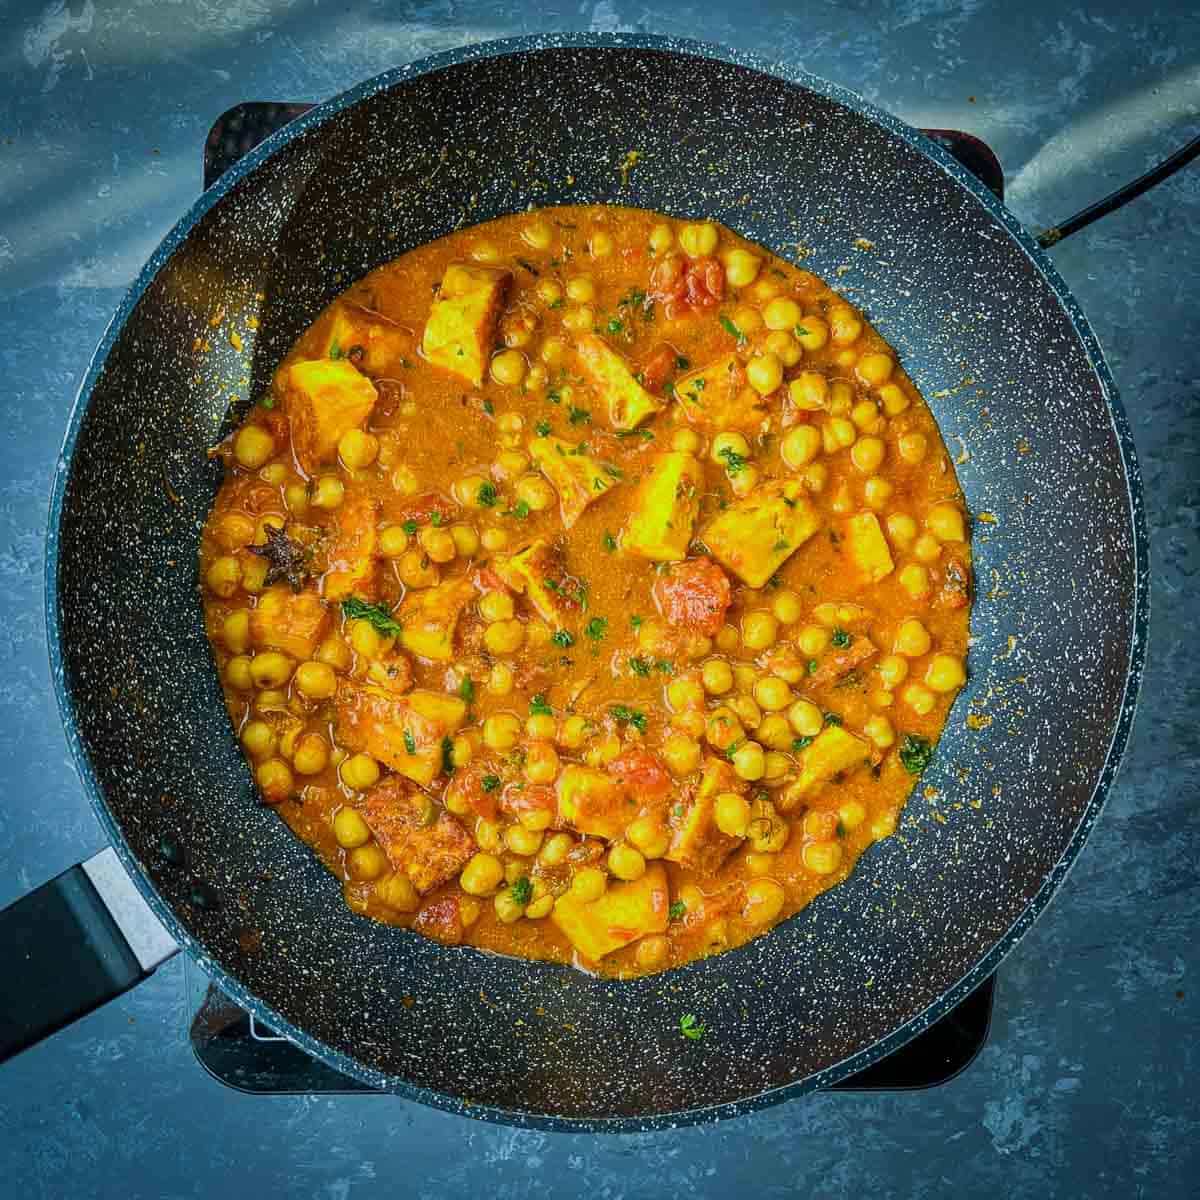
Step 6: Turn off the heat and add garam masala and cilantro. Mix well and serve.
Expert Tips
- Sugar helps balance the tanginess of tomatoes and yogurt. Do not skip it.
- If you are using frozen paneer, soak them in warm water for a few minutes to soften them.
- Frying the paneer is optional and can be skipped.
- Ensure the yogurt is whisked well and there are no lumps in it. You can also give it a quick blend.
- You can store chana paneer in the refrigerator for up to five days. It also freezes well and can be stored in the freezer for up to three months.
What to serve with chana paneer
Accompanied with bread: Indian bread like roti, chapati, or paratha is a great choice to accompany chana paneer.
Serve with plain or flavored rice: This dish pairs well with basmati rice, saffron rice, and jeera rice.
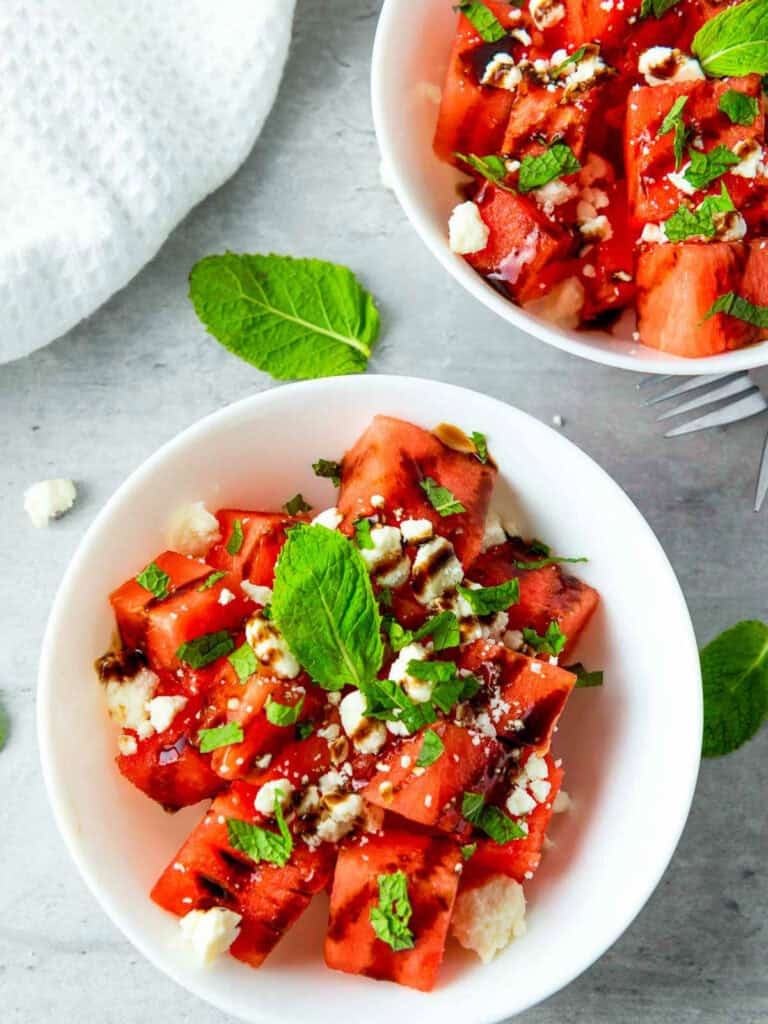
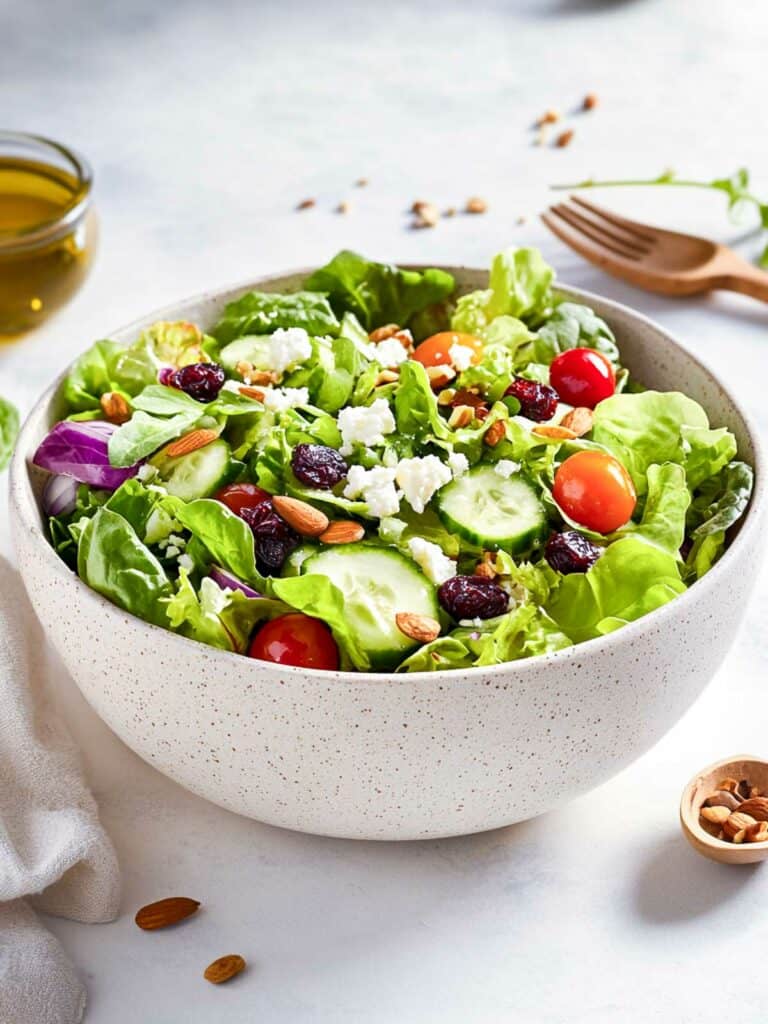
Salad or raita: A side salad like kachumber or onion raita can add freshness and crunch to the meal.

Recipe FAQs
If using dry chickpeas, soak them in water overnight and cook them in an Instant Pot or stovetop until they are tender. The rest of the recipe remains the same.
Certainly! Chana paneer can be prepared in advance and stored in the refrigerator for up to five days. It also freezes well for longer storage.
Soak paneer cubes in warm water before adding them to the dish, and avoid overcooking. Lightly pan-fry the paneer for a golden exterior and softer texture.
Yes! Bell peppers, carrots, green beans, peas, or spinach are all great additions. Adjust the cooking time accordingly.
More Chickpea Recipes
- Enjoy a lighter option with this refreshing Chickpea Salad Sandwich. Made with crisp vegetables, creamy chickpeas, and a zesty dressing, it’s a perfect choice for a quick meal on the go.
- Dive into the aromatic flavors of our Marry Me Chickpeas. Infused with a blend of exotic spices and herbs, this creamy dish will transport your taste buds to a culinary adventure.
- Savor the wholesome flavors of this Roasted Eggplant and Chickpea Buddha Bowl. Tossed with fragrant herbs and a tangy yogurt dressing, it’s a nourishing bowl of goodness that will satisfy and energize you.
- Crave something creamy? Try this Chickpea Deviled Eggs. Bursting with savory spices and creamy filling, they’re a delightful twist on a classic appetizer that’s sure to please any palate.
- Craving something delicious and unique? Try this Chickpea Mango Curry! Made with creamy coconut milk and the sweet touch of mango, this vegan recipe is perfect for quick meal prep and busy weeknights.
If you tried this Chana Paneer / Chickpea Paneer Curry Recipe or any other recipe on my website, please leave a 🌟 star rating and let me know how it went in the 📝 comments below.
Equipment
Ingredients
- 3 cups boiled chickpeas (2 cans)
- 2 cups paneer cut into small cubes
- 2 tbsp oil
- 1 inch ginger grated
- 1-2 green chili chopped
- 1 cup canned diced tomatoes
- ¼ cup yogurt whisked
- 1 tbsp dried fenugreek leaves kasoori methi
- 1 tsp salt adjust as per taste
- ½ tsp sugar
- 1 tbsp cilantro
Spices:
- 1 tsp cumin seeds
- 1 star anise
- ½ tsp hing asafetida
- 2 tsp ground coriander
- ½ tsp Kashmiri chili powder or paprika
- ¼ tsp turmeric powder
- ½ tsp garam masala
Instructions
- Heat a frying pan and add one tablespoon of oil. Once it heats, add the paneer cubes. Fry them until they are golden brown and set them aside.
- Heat a frying pan and add one tablespoon of oil. Once it heats, add cumin seeds, star anise, and hing. Saute for a few seconds.
- Add ginger and green chili. Saute for one minute.
- Next, add the diced tomatoes, ground coriander, chili powder, turmeric powder, salt, and sugar. Mix well and simmer until the tomatoes and spices are cooked and the oil begins to ooze out – about 5-6 minutes.
- Whisk the yogurt well, making sure there are no lumps.
- Once the tomatoes are cooked, add the whisked yogurt and kasoori methi. Mix well and simmer for 2-3 minutes.
- Add the chickpeas, fried paneer cubes, and one cup of water. Bring it to a boil and simmer for 3-4 minutes.
- Add garam masala and cilantro. Mix well and serve.
Notes
- If you are using frozen paneer, soak them in warm water for a few minutes to soften them.
- Frying the paneer is optional and can be skipped.
- Ensure the yogurt is whisked well and there are no lumps in it. You can also give it a quick blend.
Nutrition
