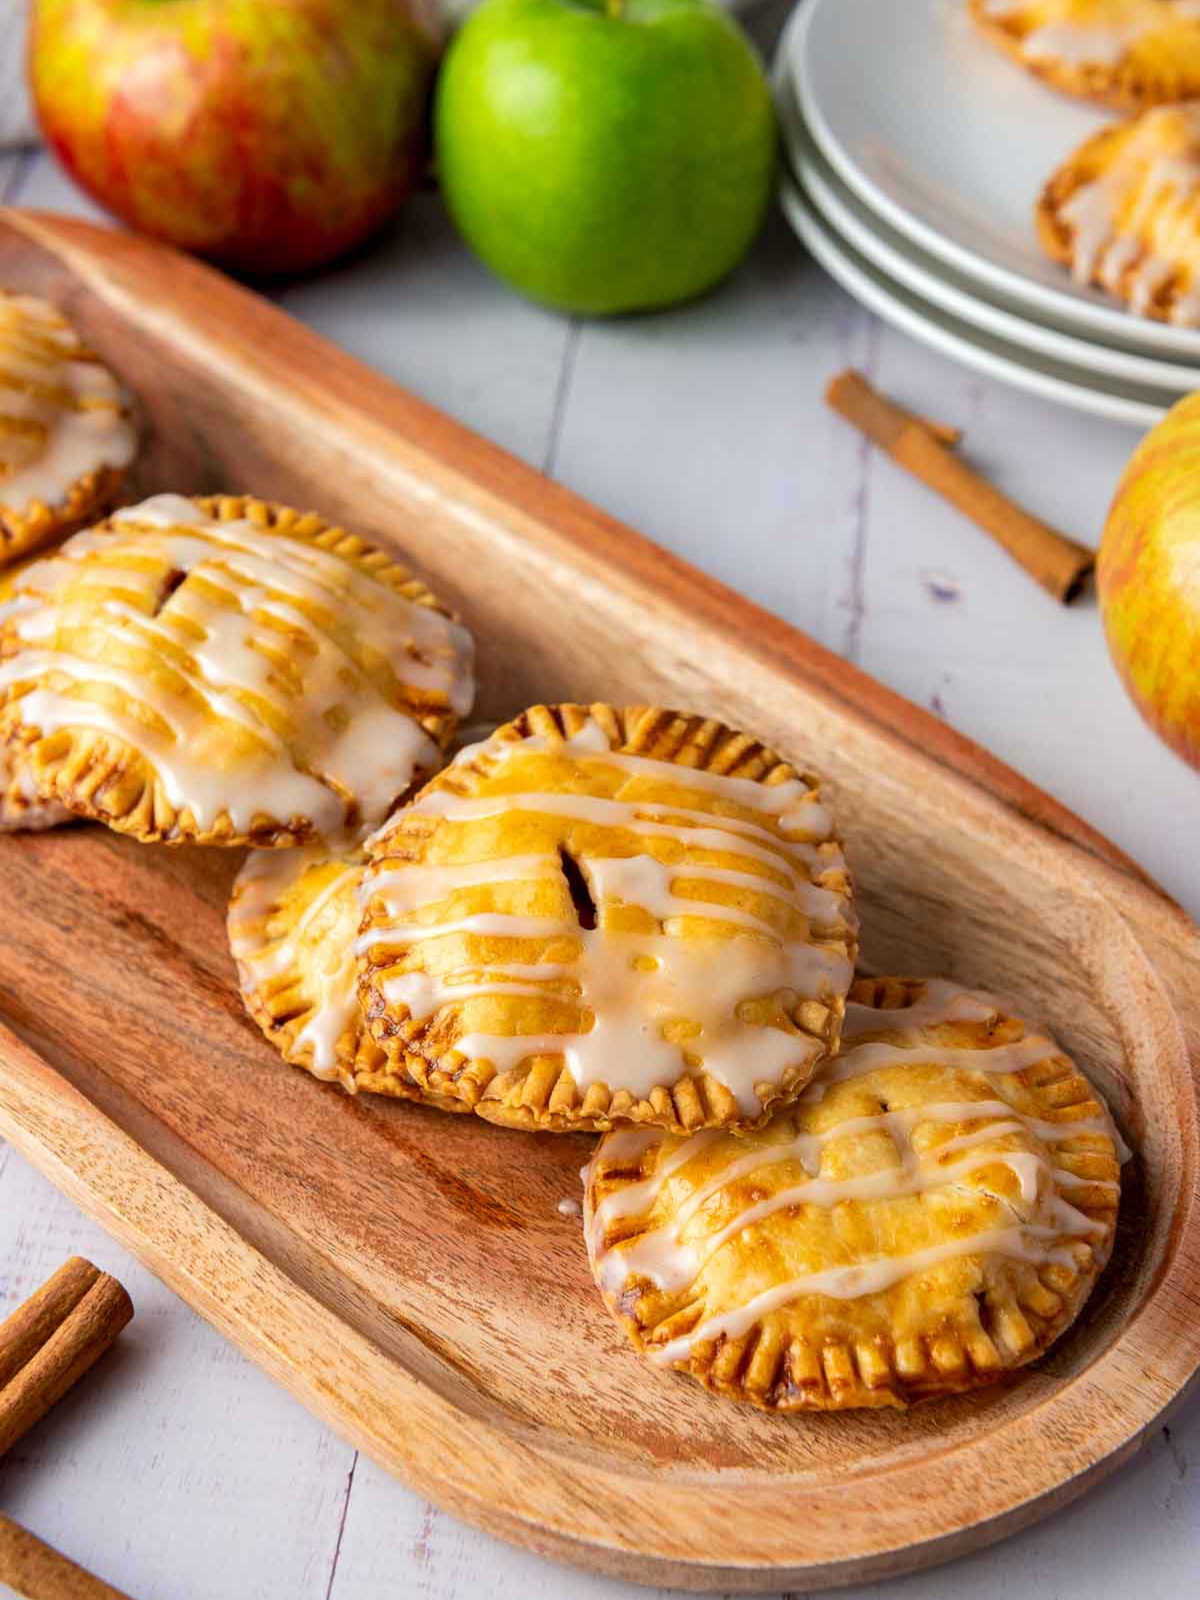
How to Make Irresistible Apple Hand Pies (Tiny, Portable, Cozy Treats)
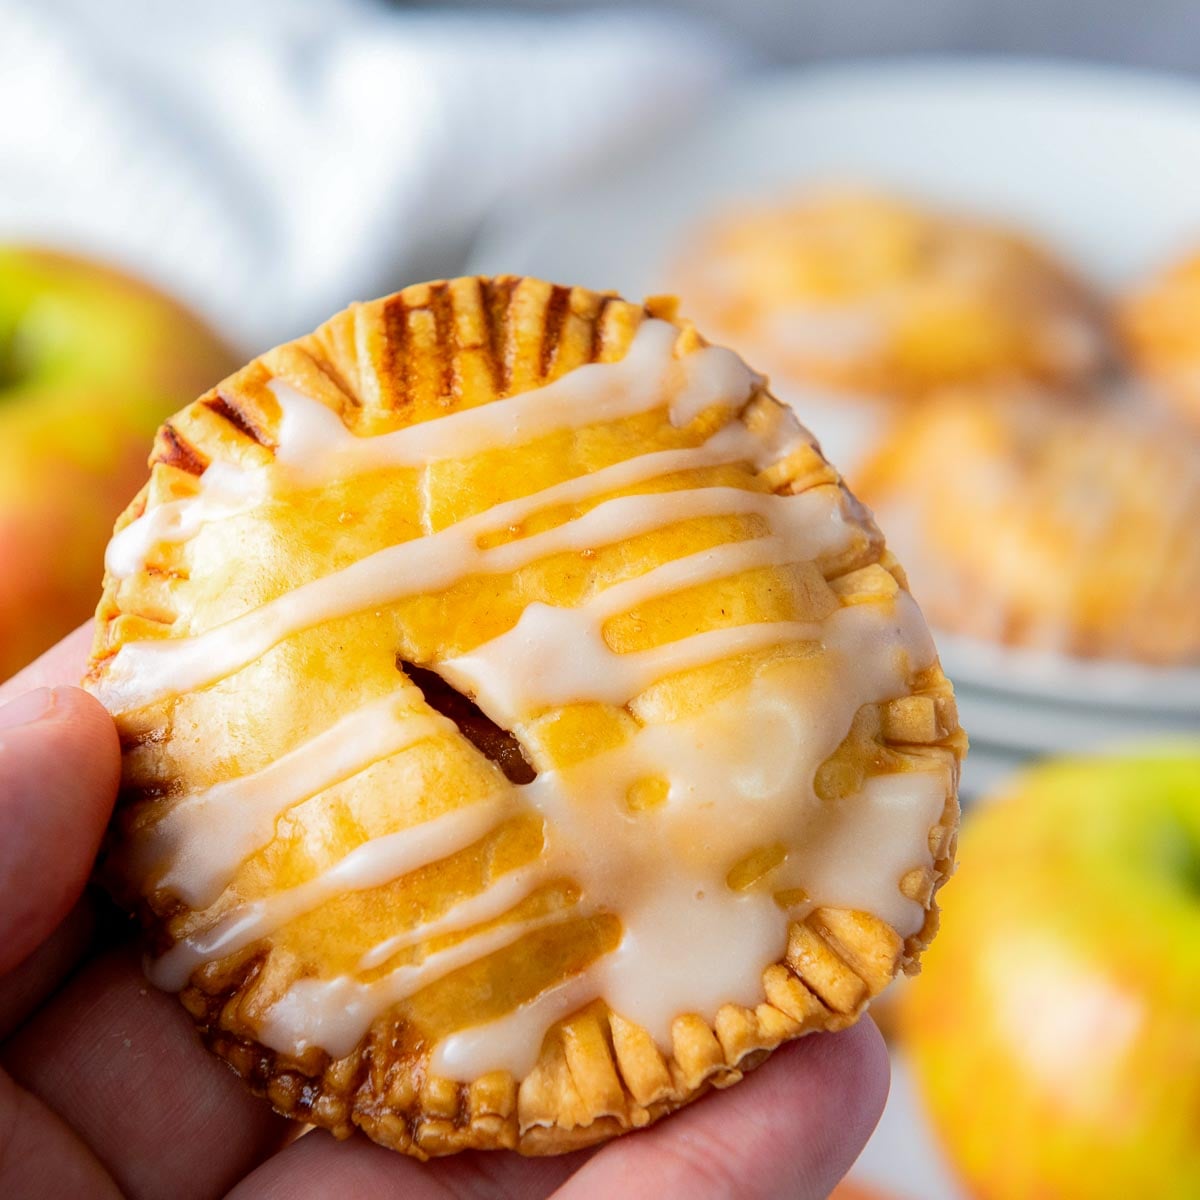
Apple hand pies capture everything you love about a classic apple pie in a fun, portable form. Each golden pocket of flaky crust is filled with tender cinnamon apples and topped with a light glaze, giving you all the cozy flavor of pie in a treat that's much easier to bake, serve, and share.
Disclosure: This post may contain affiliate links. This means I get a small commission if you decide to make a purchase through my links at no extra cost to you.
Hand pies are simply mini, handheld pastries filled with sweet or savory fillings. In this case, a homemade recipe shortcut packed with gooey apple filling. Think of them as apple pie-like desserts that bring fall comfort in a portable, snackable size. Perfect for farmers' market baked good ideas, Thanksgiving dessert tables, or simply stocking the cookie jar with sweet treats for Thanksgiving.
Why You Will Love This Recipe
These handheld apple pies are simple to make and full of flavor. Here's why they'll become a go-to in your kitchen:
- They are portable and shareable, giving you all the cozy flavors of apple pie without the need for a fork.
- Making hand pies is easy with this recipe, since you don't need a pie dish or complicated steps to enjoy the flavors of apple pie.
- They are highly customizable, allowing you to swap spices, change the glaze, or use puff pastry for variety.
- They are make-ahead friendly, since you can freeze unbaked pies and bake them later for a quick dessert.
- They are holiday-ready, making them the perfect answer when you wonder what to bake for Thanksgiving.

Ingredients

See the recipe card for the complete list of ingredients and quantities.
Step-by-step Instructions

Step 1: In a medium saucepan, melt the butter over medium heat. Add the diced apples, granulated sugar, brown sugar, cinnamon, nutmeg, lemon juice, and vanilla. Stir and cook for 5-7 minutes, until the apples soften slightly but still hold their shape. Remove from heat and let the filling cool completely.
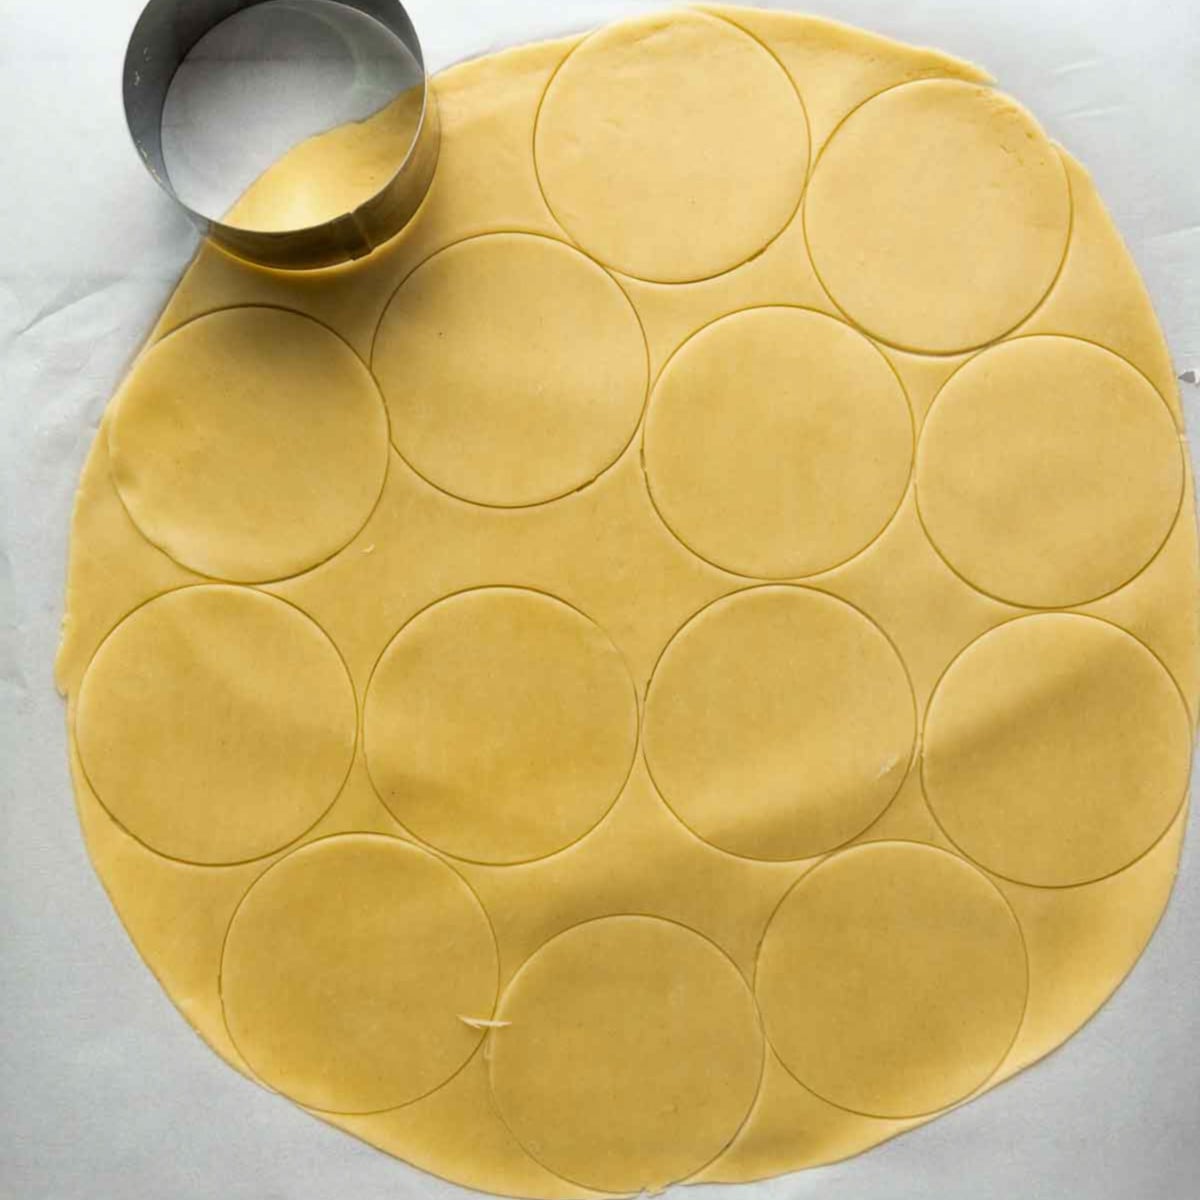
Step 2: Roll out the pie crust sheets on a lightly floured surface. Using a 4-5 inch round cutter or the rim of a glass, cut out circles from the dough. Gather and re-roll scraps if needed.

Step 3: Place a spoonful of the cooled apple filling in the center of half the dough circles, leaving a border around the edges.

Step 4: Top each filled circle with another piece of dough. Press edges firmly together, then crimp with a fork to seal. Brush the tops with beaten egg for color, and cut two small slits in each pie to let steam escape.

Step 5: Arrange the prepared pies on a parchment-lined baking sheet. Bake in a preheated oven at 400°F for 20-25 minutes, until golden brown.
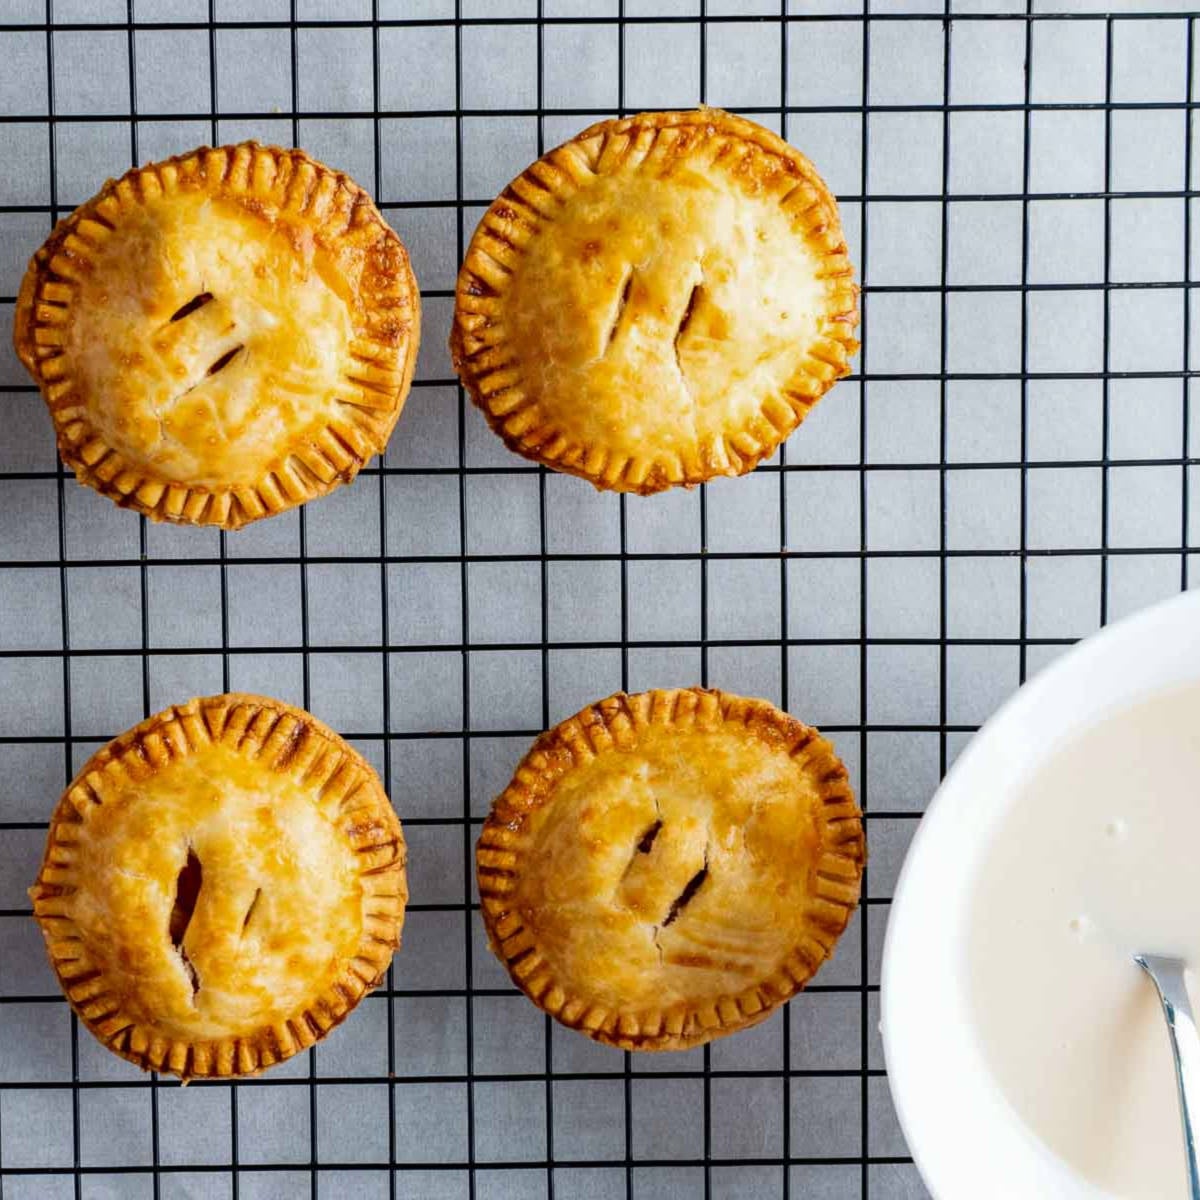
Step 6: Transfer the baked pies to a wire rack and let them cool for at least 10 minutes. Whisk together powdered sugar, milk, and vanilla until smooth. Drizzle over the cooled pies and let the glaze set before serving.

Pro Tip: Pop assembled hand pies in the fridge for 10 minutes before baking. Cold dough = flakier results.
Common Mistakes to Avoid When Making Apple Hand Pies
Even simple desserts have their pitfalls. Here are the most common mistakes (and how to avoid them):
- Overfilling: Too much apple filling leads to leaks. Stick to 1-2 spoonfuls.
- Warm Dough: If the pie crust warms up, it becomes sticky and shrinks. Chill it in the fridge before sealing.
- Skipping Vents: Cut slits on top to let steam escape.
- Soggy Bottoms: Always bake on parchment for even heat and crisp bottoms.
Serving and Presentation Ideas
- Serve warm with a scoop of vanilla ice cream for a cozy apple pie-like dessert experience.
- Drizzle with caramel sauce and a sprinkle of sea salt for an indulgent twist.
- Pack them as apple finger food for bake sales, picnics, or lunchbox treats.
- Arrange on a platter with parchment squares and twine for farmers market baked good ideas or gifting.
- Add them to a dessert board with cookies, brownies, and fruit for sweet treats for Thanksgiving.
Recipe FAQs
You can, but fresh cinnamon apples give better texture and flavor. Canned filling tends to be sweeter and softer, so reduce or skip the glaze if using it.
Yes! Place the assembled hand pies in a preheated air fryer at 375°F and cook for 12-14 minutes, or until golden brown.
Make sure not to overfill the dough circles and crimp the edges tightly with a fork. Cutting small slits in the top also helps steam escape.
Yes. Use a vegan pie crust and plant-based milk in the glaze, or choose a gluten-free pie dough for an easy swap.
Yes! You can assemble the pies and freeze them unbaked on a baking tray. Once frozen, transfer them to a freezer bag for storage. Bake directly from frozen when you're ready. Just add about 5 extra minutes to the baking time.
Store apple hand pies in an airtight container at room temperature for up to 2 days, or refrigerate for up to 5 days. This keeps the crust crisp and the apple filling fresh. Reheat hand pies in a 350°F oven for 8-10 minutes. This keeps the crust flaky and golden. Avoid microwaving, which makes them soggy.
More Apple Recipes
- Turn fresh apples into something cozy and delicious with this Instant Pot applesauce. Warm, cinnamon-spiced, and made with simple ingredients, it's the homemade treat you'll want all season long. Perfect for breakfast toppings, fall snacks, or even as a side with dinner.
- This apple crisp is everything a homemade dessert should be: easy to put together, full of warm flavors, and irresistibly crunchy on top. It's the kind of recipe that works just as well for a casual weeknight treat as it does for a holiday table.
- These apple cinnamon crumb muffins are soft, spiced, and finished with a golden crumb topping. Perfect warm from the oven for breakfast or as part of a cozy fall brunch. Bake a batch ahead and enjoy them as an easy make ahead breakfast treat all week long.
- Golden puff pastry, caramelized apples, and a dusting of sugar, these mini upside down apple tarts are the cozy fall dessert you'll want on repeat. Simple enough for weeknights, yet elegant enough for party platters.
Tried these apple hand pies? Please leave a comment below and rate the recipe. I'd love to hear how they turned out for you. And if you're looking for more fall recipes, be sure to browse my Fall Recipes collection for plenty of cozy inspiration.

Equipment
- Medium saucepan
- Wooden spoon or silicone spatula
- Rolling pin
- Round cookie cutter or glass (4-5 inch)
- Fork (for crimping)
- Pastry brush (for egg wash)
- Wire cooling rack
- Small mixing bowl (for glaze)
Ingredients
For the Filling
- 2 small Granny Smith apples peeled, cored, and diced
- 1 Honeycrisp apple peeled, cored, and diced
- 3 tablespoons granulated sugar
- 1 tablespoon brown sugar
- 1 teaspoon ground cinnamon
- ¼ teaspoon ground nutmeg
- 1 tablespoon lemon juice
- 1 tablespoon butter
- ½ teaspoon vanilla extract
For the Assembly
- 2 sheets store-bought pie crust
- 1 egg beaten (for egg wash)
For the Glaze
- 1 cup powdered sugar
- 1-2 tablespoons milk
- ¼ teaspoon vanilla extract
Instructions
- In a medium saucepan, melt the butter over medium heat. Add the diced apples, granulated sugar, brown sugar, cinnamon, nutmeg, lemon juice, and vanilla extract.
- Cook for 5-7 minutes, stirring occasionally, until the apples soften slightly but still hold their shape. Remove from heat and let the filling cool completely.
- Preheat oven to 400℉ and line a baking sheet with parchment paper.
- Roll out the pie crust and cut into 4 to 5-inch circles. Place a spoonful of cooled apple filling in the center of half the circles.
- Top each with a second circle, pressing edges to seal. Crimp with a fork, brush tops with egg wash, and cut small slits to vent.
- Arrange pies on the prepared baking sheet and bake for 20-25 minutes, until golden brown. Remove from oven and let cool on a wire rack.
- In a small bowl, whisk together powdered sugar, milk, and vanilla extract until smooth. Drizzle over the cooled pies and let set before serving.
Notes
- Apple Choice: A mix of tart Granny Smith and sweet Honeycrisp gives the best balance of flavor, but any firm baking apples will work.
- Spice Variation: A pinch of nutmeg adds warmth, but you can also use cardamom or allspice for a different twist.
- Glaze Alternative: Try apple cider in place of milk for a seasonal cider glaze.
- Make Ahead: The pies can be baked, cooled, and stored in an airtight container for up to 2 days. Glaze just before serving for the freshest look.