The Easiest Yeast Bread for Beginners: 3 Ingredients, No-Knead
Forget complicated techniques and long kneading times. This beginner-friendly no-knead yeast bread recipe is the answer to your homemade bread dreams. Made with 3 basic ingredients plus water, it is perfect for beginners and experienced bakers alike. Create a crusty loaf that is perfect for sandwiches, toast, or simply enjoying on its own.
Disclosure: This post may contain affiliate links. This means I get a small commission if you decide to make a purchase through my links at no extra cost to you.
This no-knead yeast bread is a simple and delicious way to enjoy homemade bread without the hassle of traditional methods. It requires only three basic ingredients and minimal hands-on time. It is simple enough for busy weeknights yet satisfying enough for weekend baking sessions.
The beauty of this recipe lies in its simplicity. The high-hydration dough requires no kneading, making it ideal for beginners or those intimidated by the process.
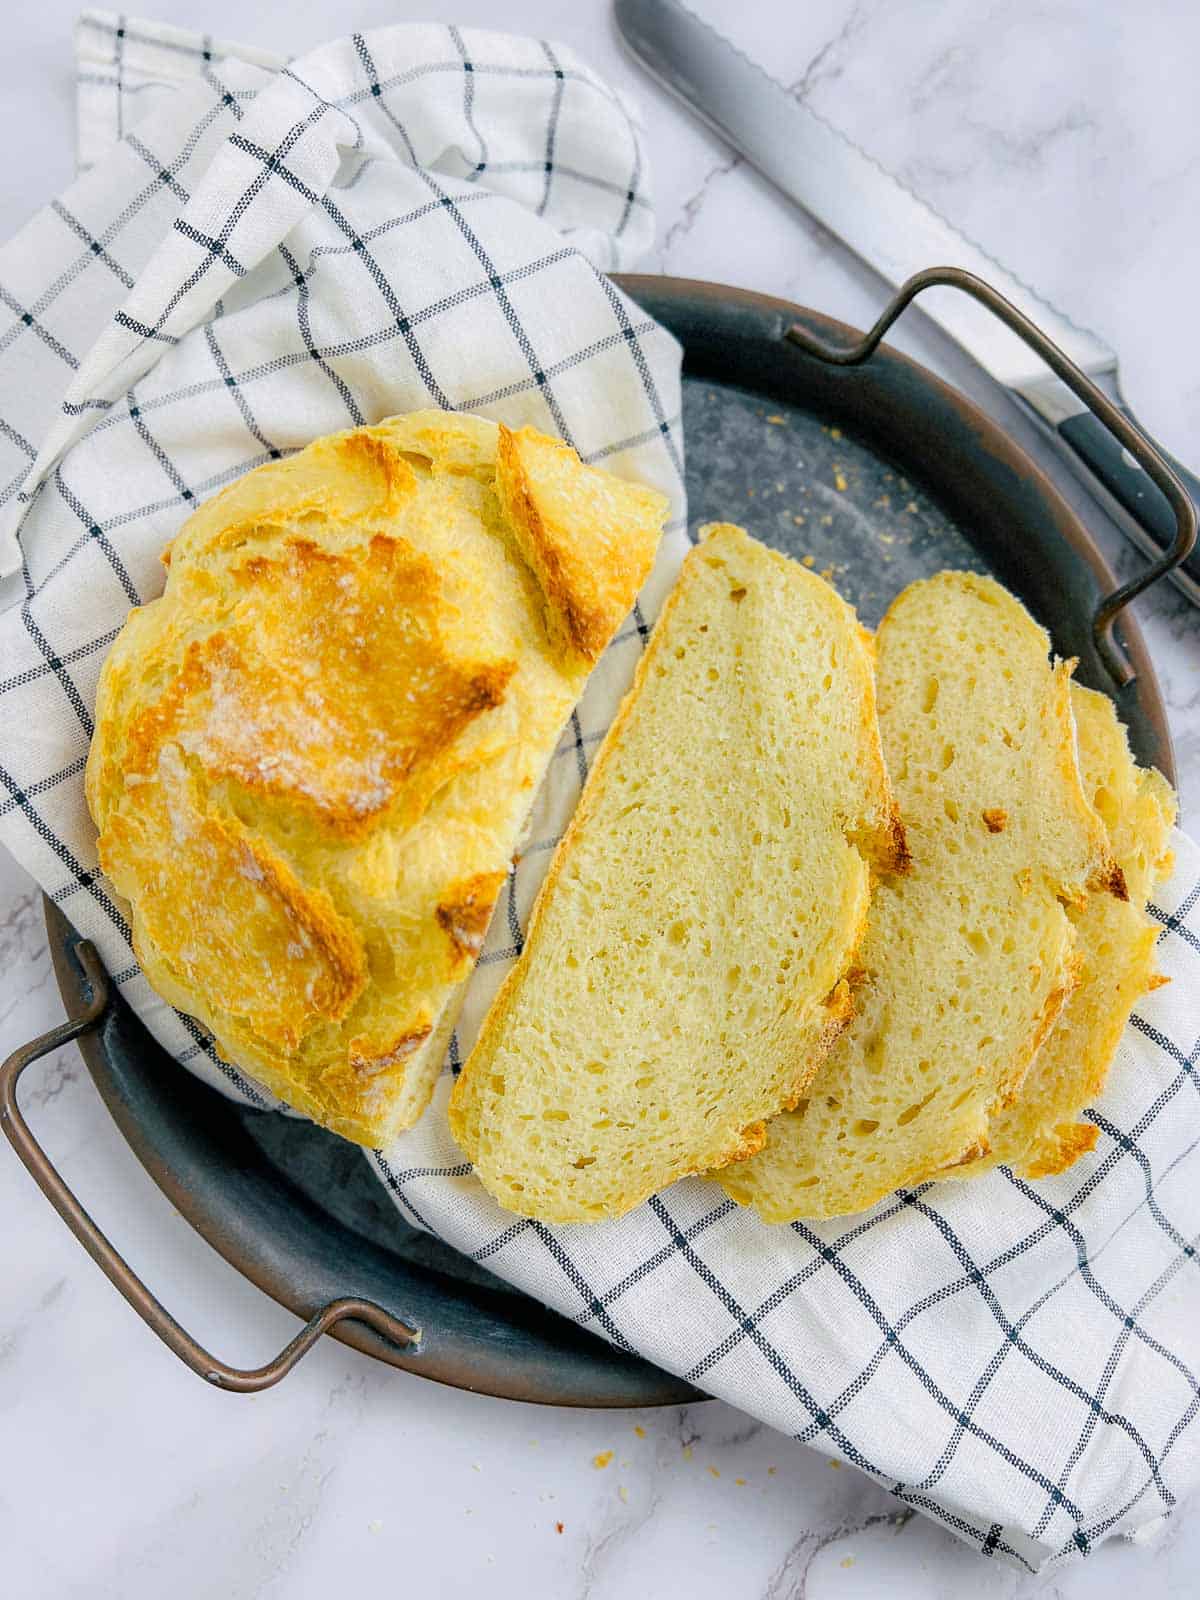
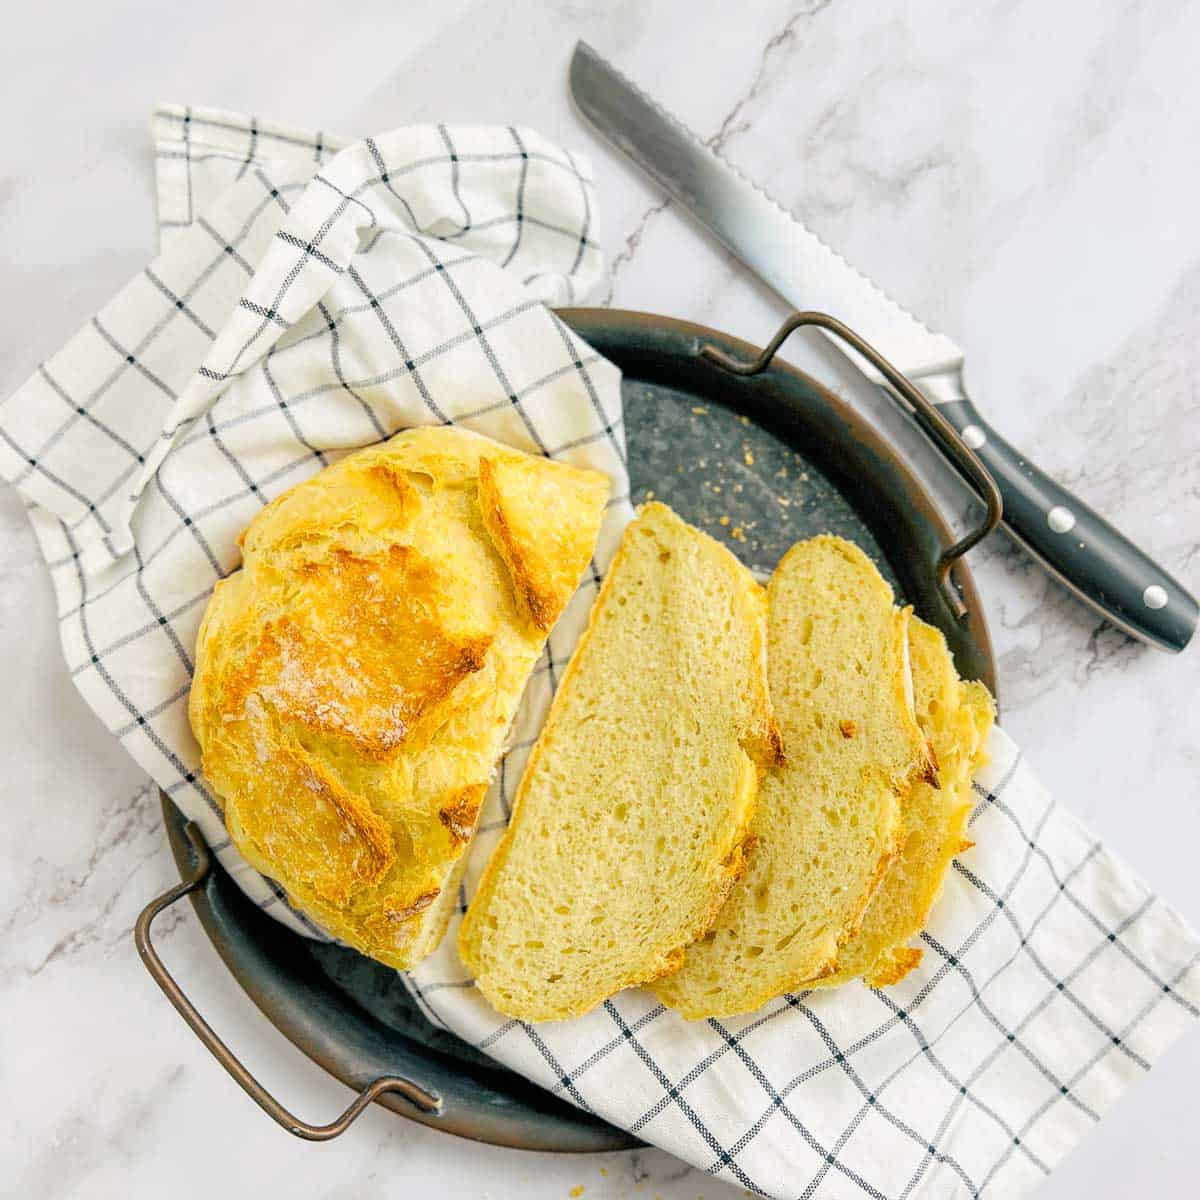
I bake the bread in a Dutch oven, which promotes a beautifully crisp crust while maintaining a soft, airy interior. The resulting loaf boasts a satisfyingly crispy exterior and a tender, fluffy inside, making it perfect for sandwiches, toast, or enjoying on its own.
Ingredients
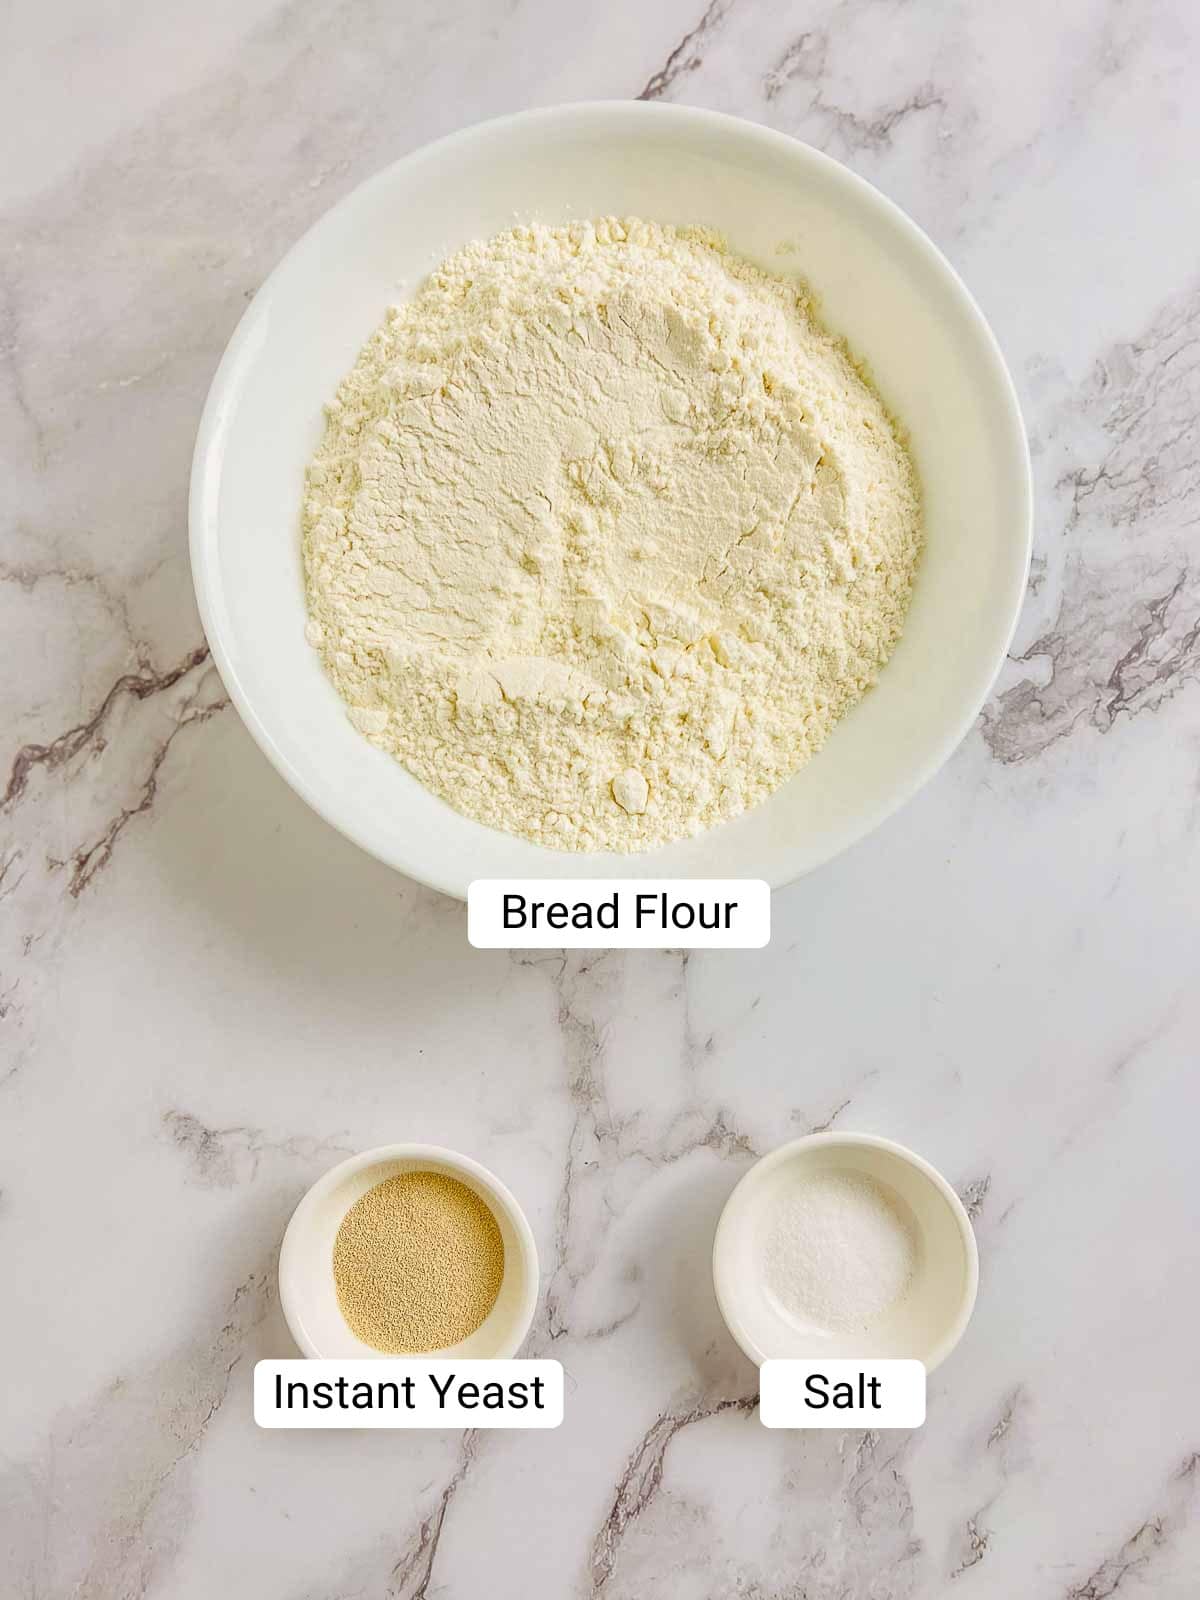
Bread Flour: Bread flour is essential for this recipe due to its higher protein content compared to all-purpose flour. This protein content helps develop gluten, resulting in a chewier and more structured bread.
Instant Yeast: Instant yeast, also known as rapid-rise yeast, is activated directly in the dough and doesn’t require pre-proofing. This simplifies the process and allows for a faster rise.
Salt: Salt plays a crucial role in bread. It enhances the flavor, strengthens the gluten structure, and helps control yeast activity.
Warm Water: The water temperature is important for activating the yeast. Aim for around 100 F to ensure optimal yeast activity without killing it.
See the recipe card for the complete list of ingredients and quantities.
Step-by-step Instructions
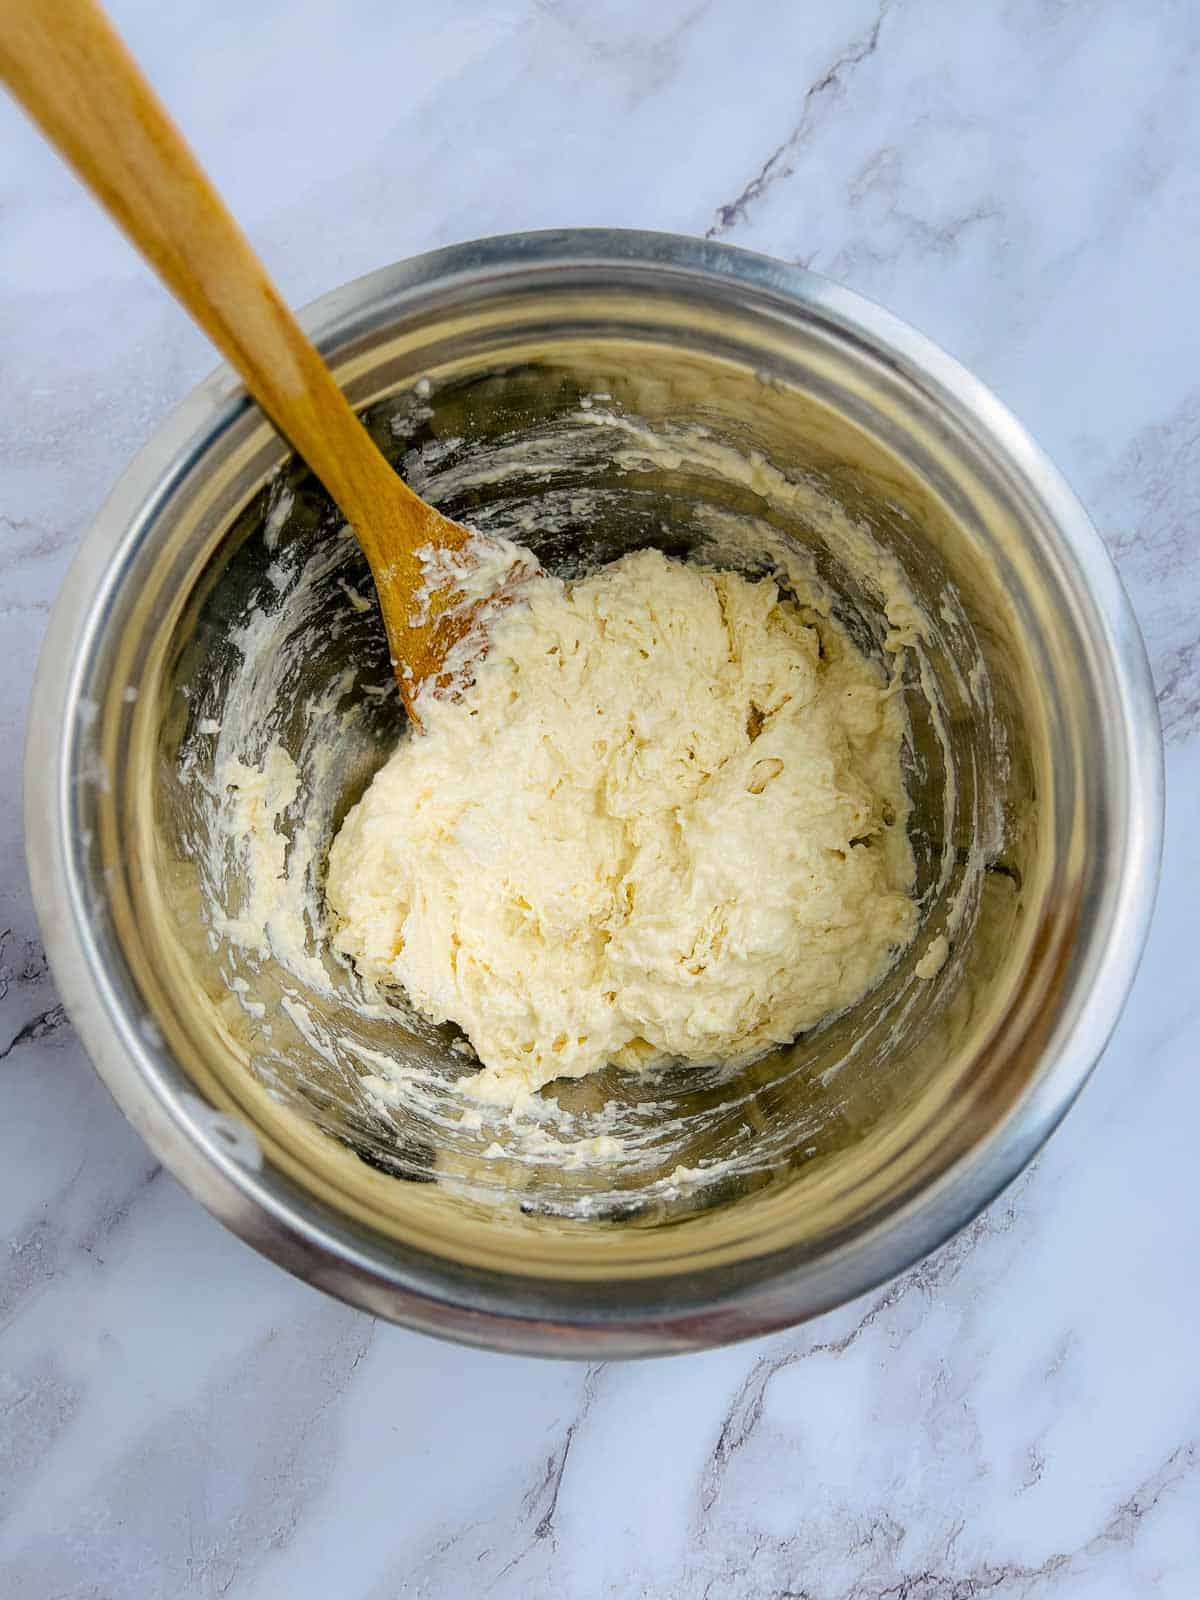
Step 1: In a large bowl, combine together the flour, yeast, and salt. Gradually add the warm water, mixing until a sticky dough forms. The dough will be very wet and sticky at this stage.
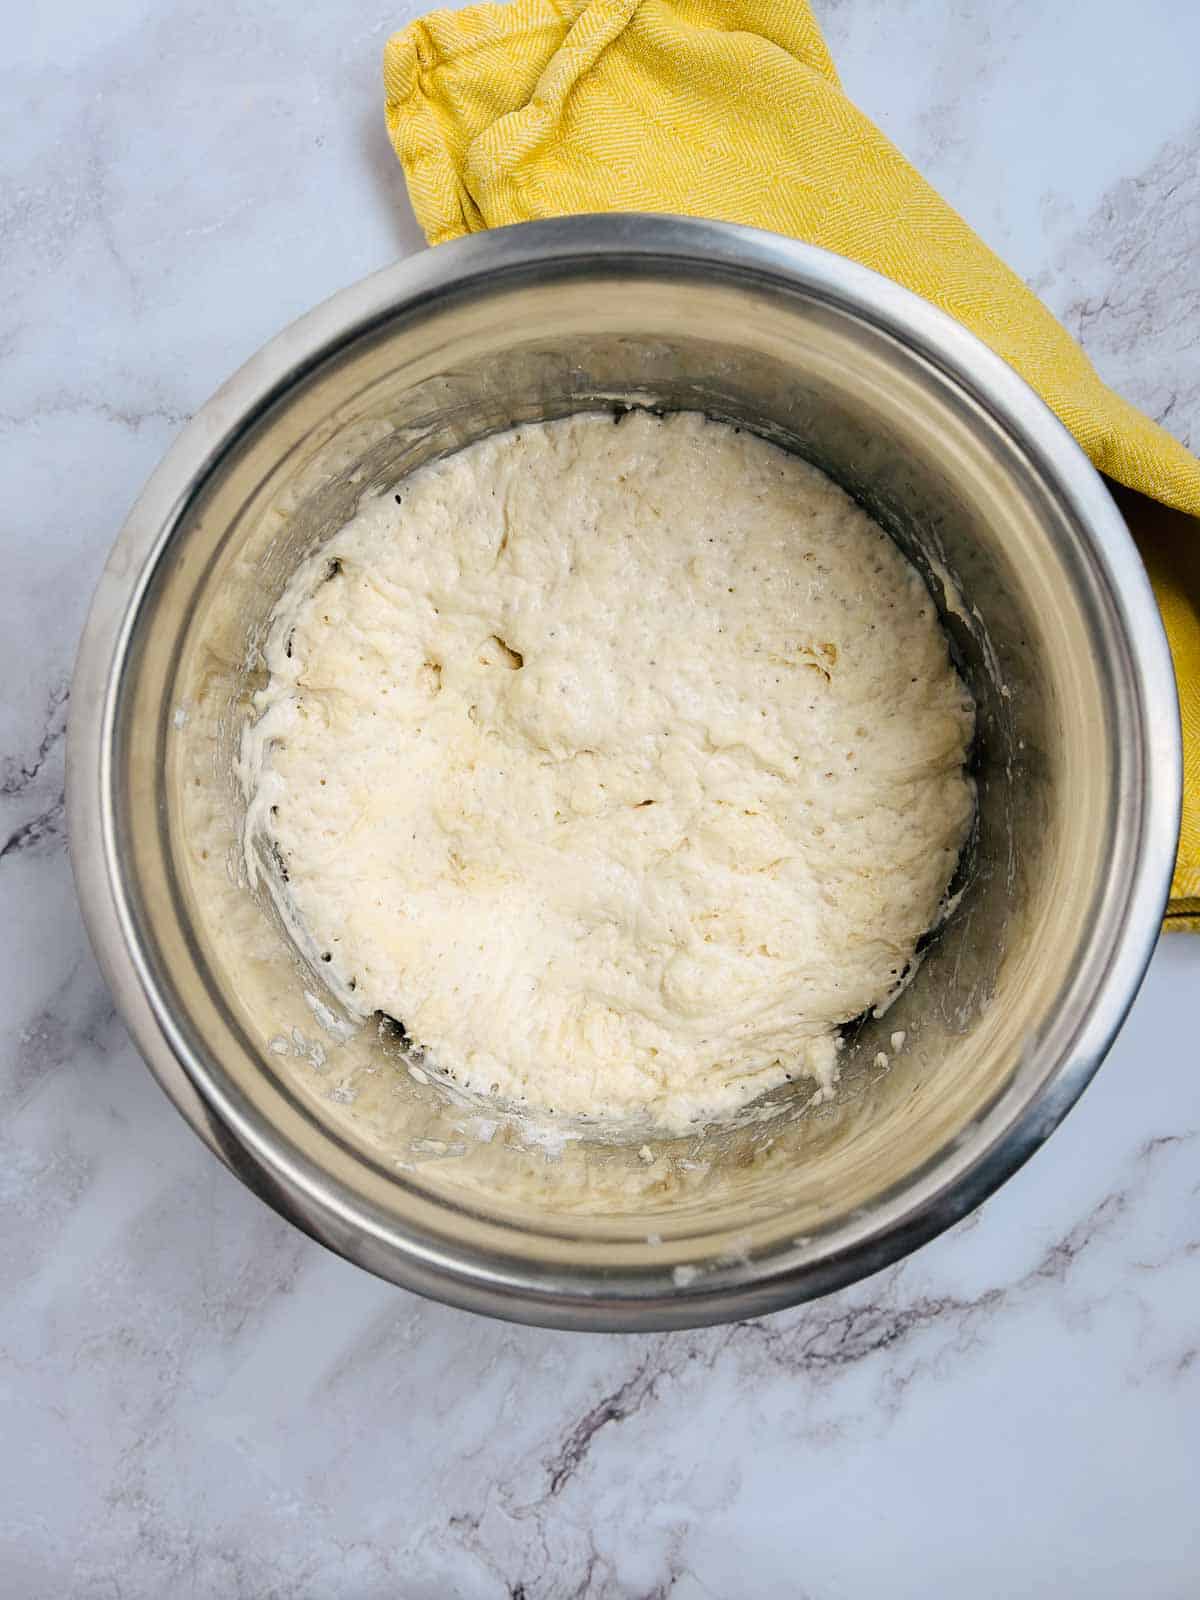
Step 2: Cover the bowl tightly with plastic wrap. Let the dough rise at room temperature for 2-3 hours or until doubled in size. You can also let it rise overnight in the refrigerator.
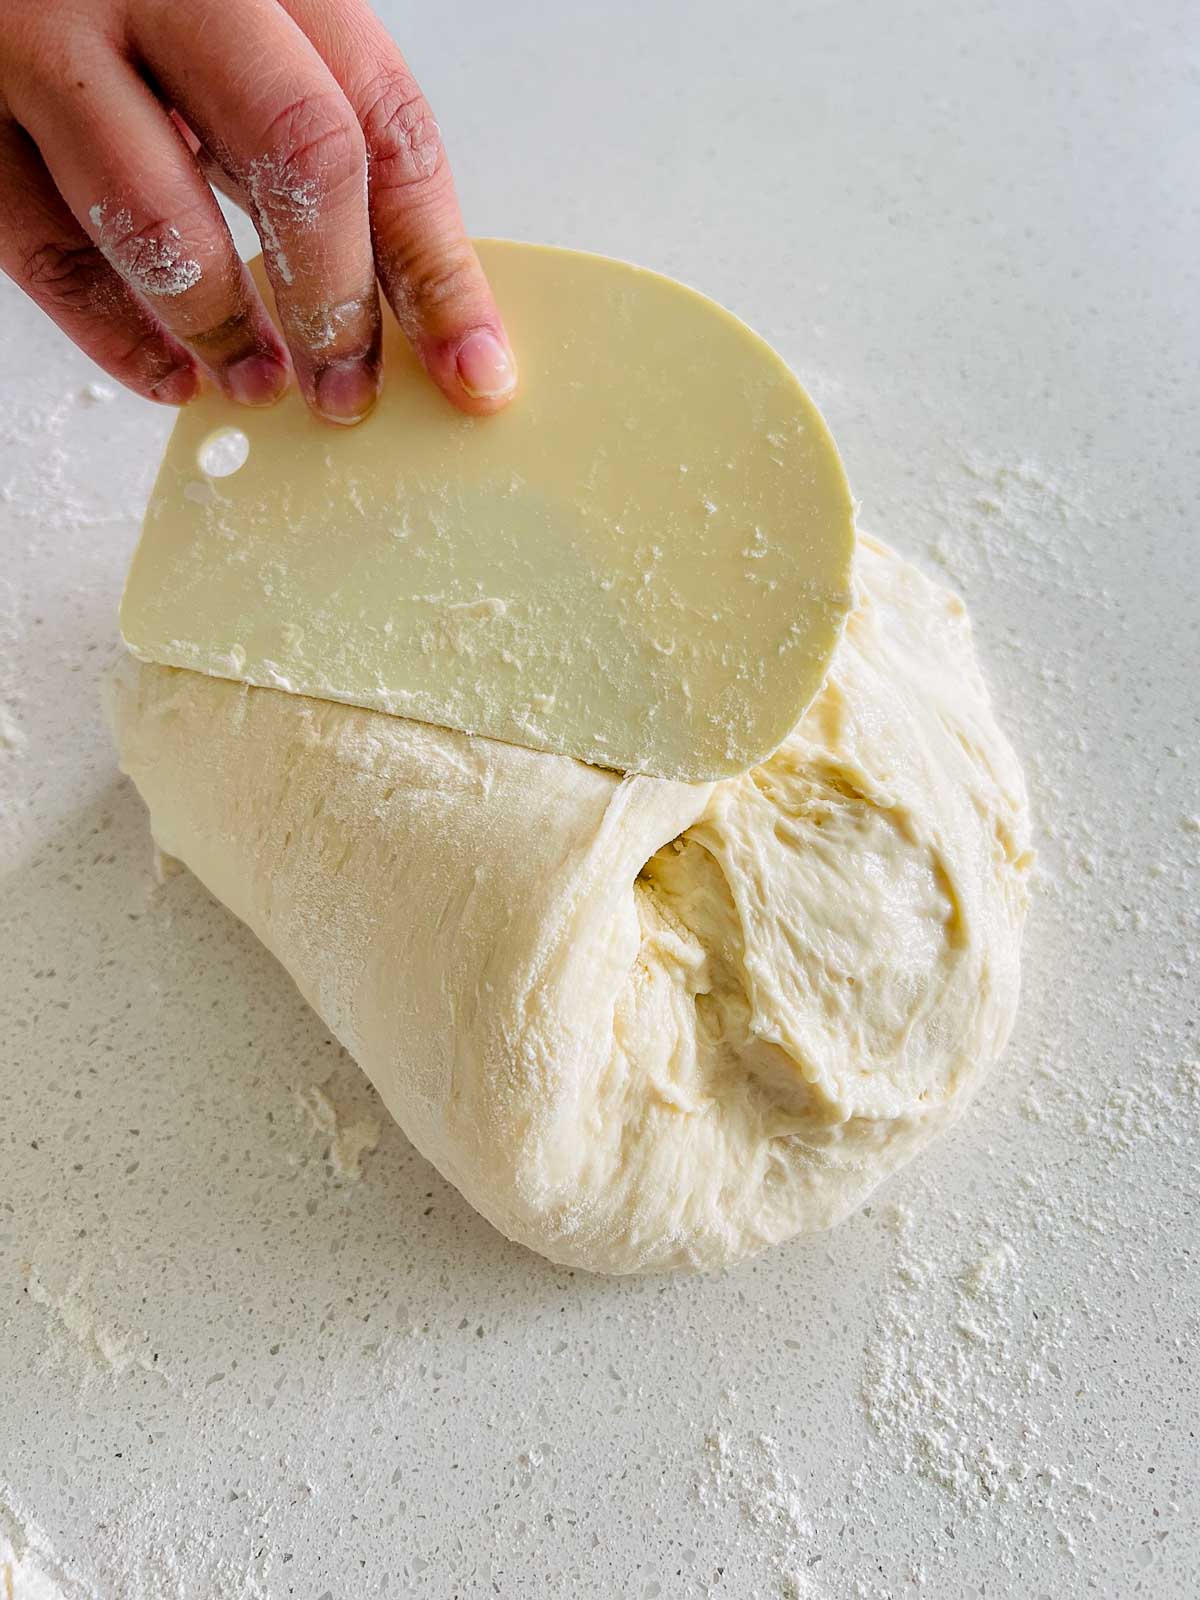
Step 3: On a lightly floured surface, gently fold the dough over itself a few times to form a rough round loaf. You don’t need to knead it.

Step 4: Place the dough seam-side down on baking paper dusted with flour.
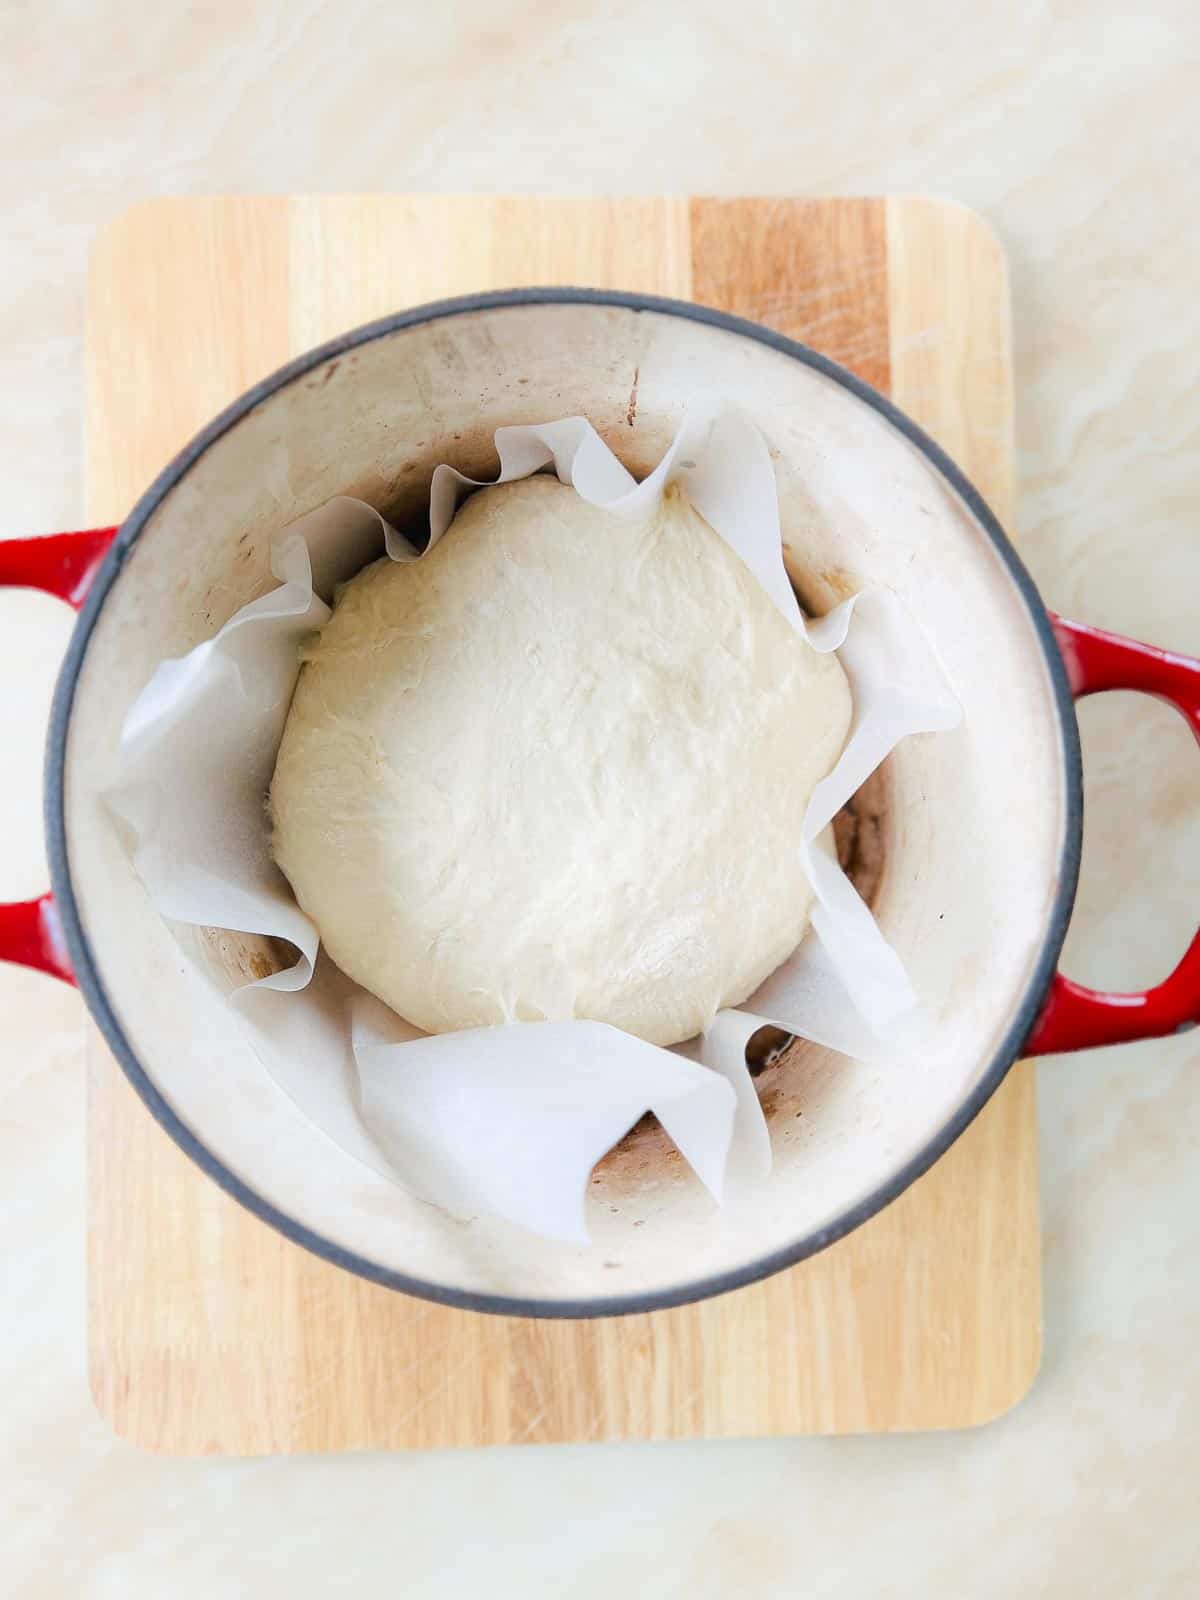
Step 5: Preheat the oven and Dutch oven with the lid on for 30 minutes. Carefully remove the hot Dutch oven from the oven and lift the dough into the pot.
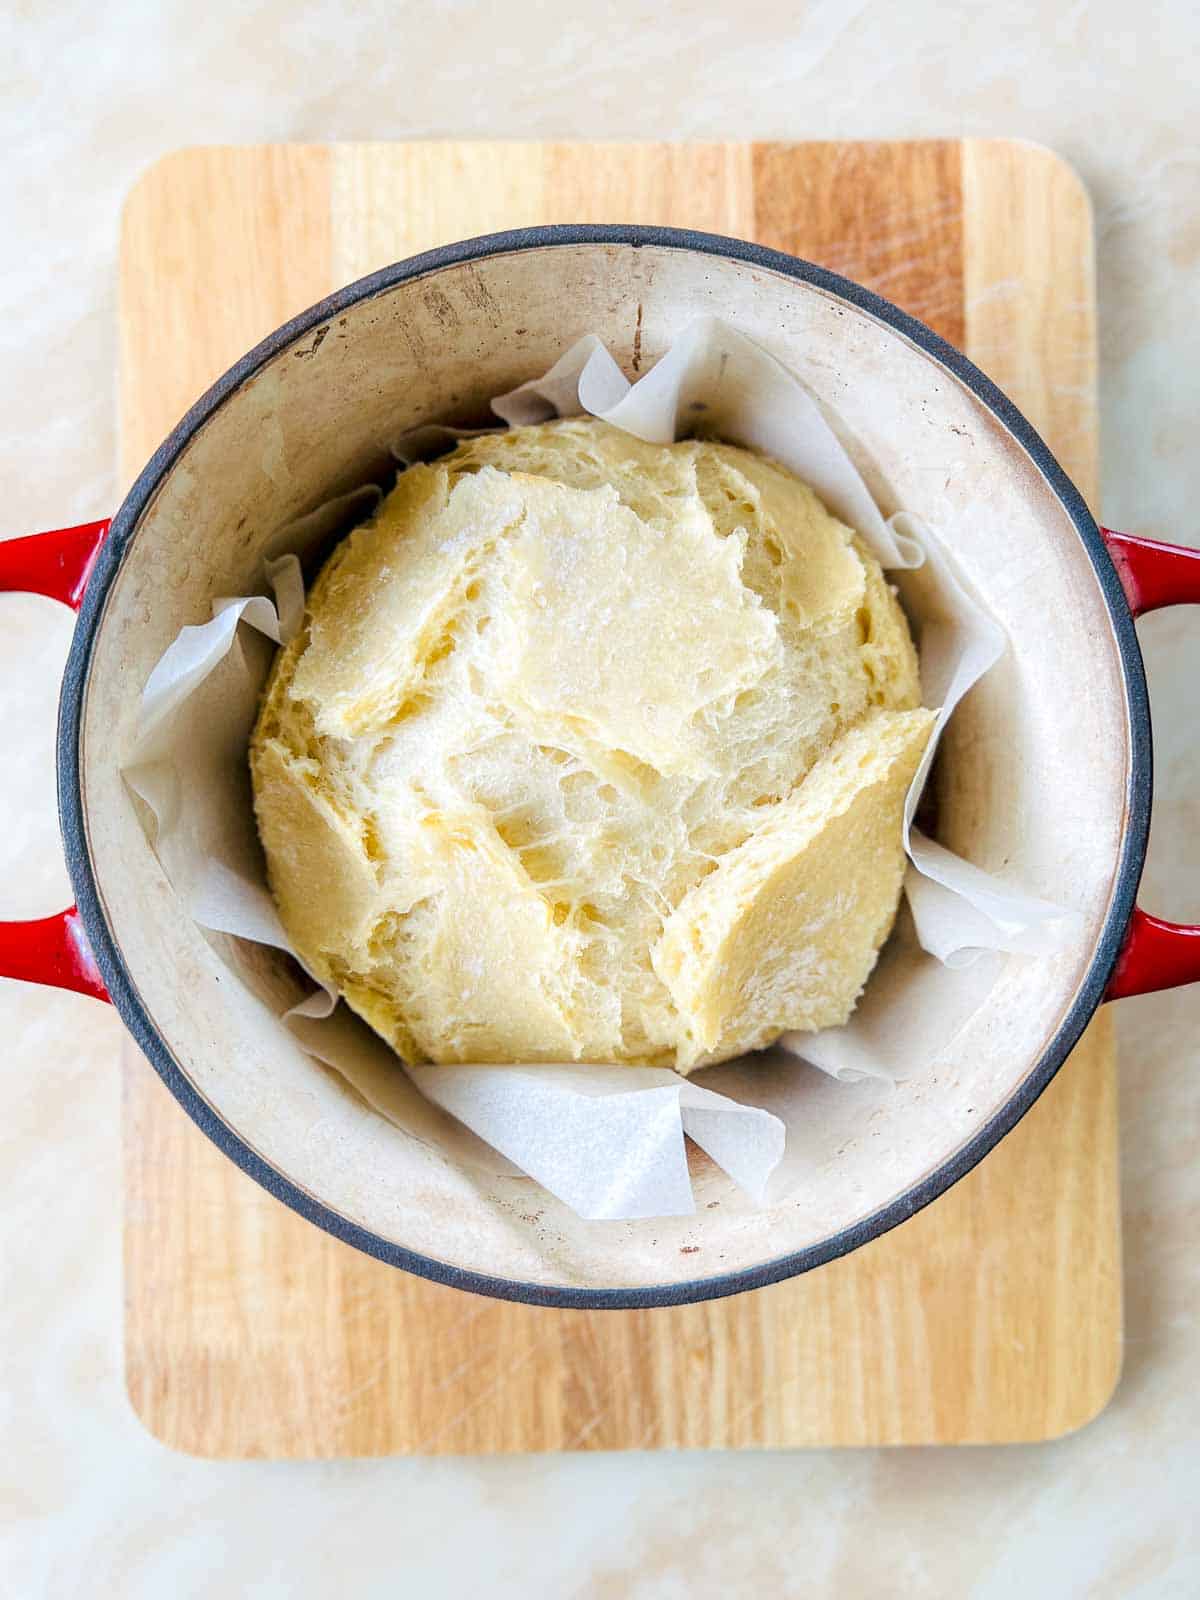
Step 6: Cover the pot with the lid and bake for 20 minutes.
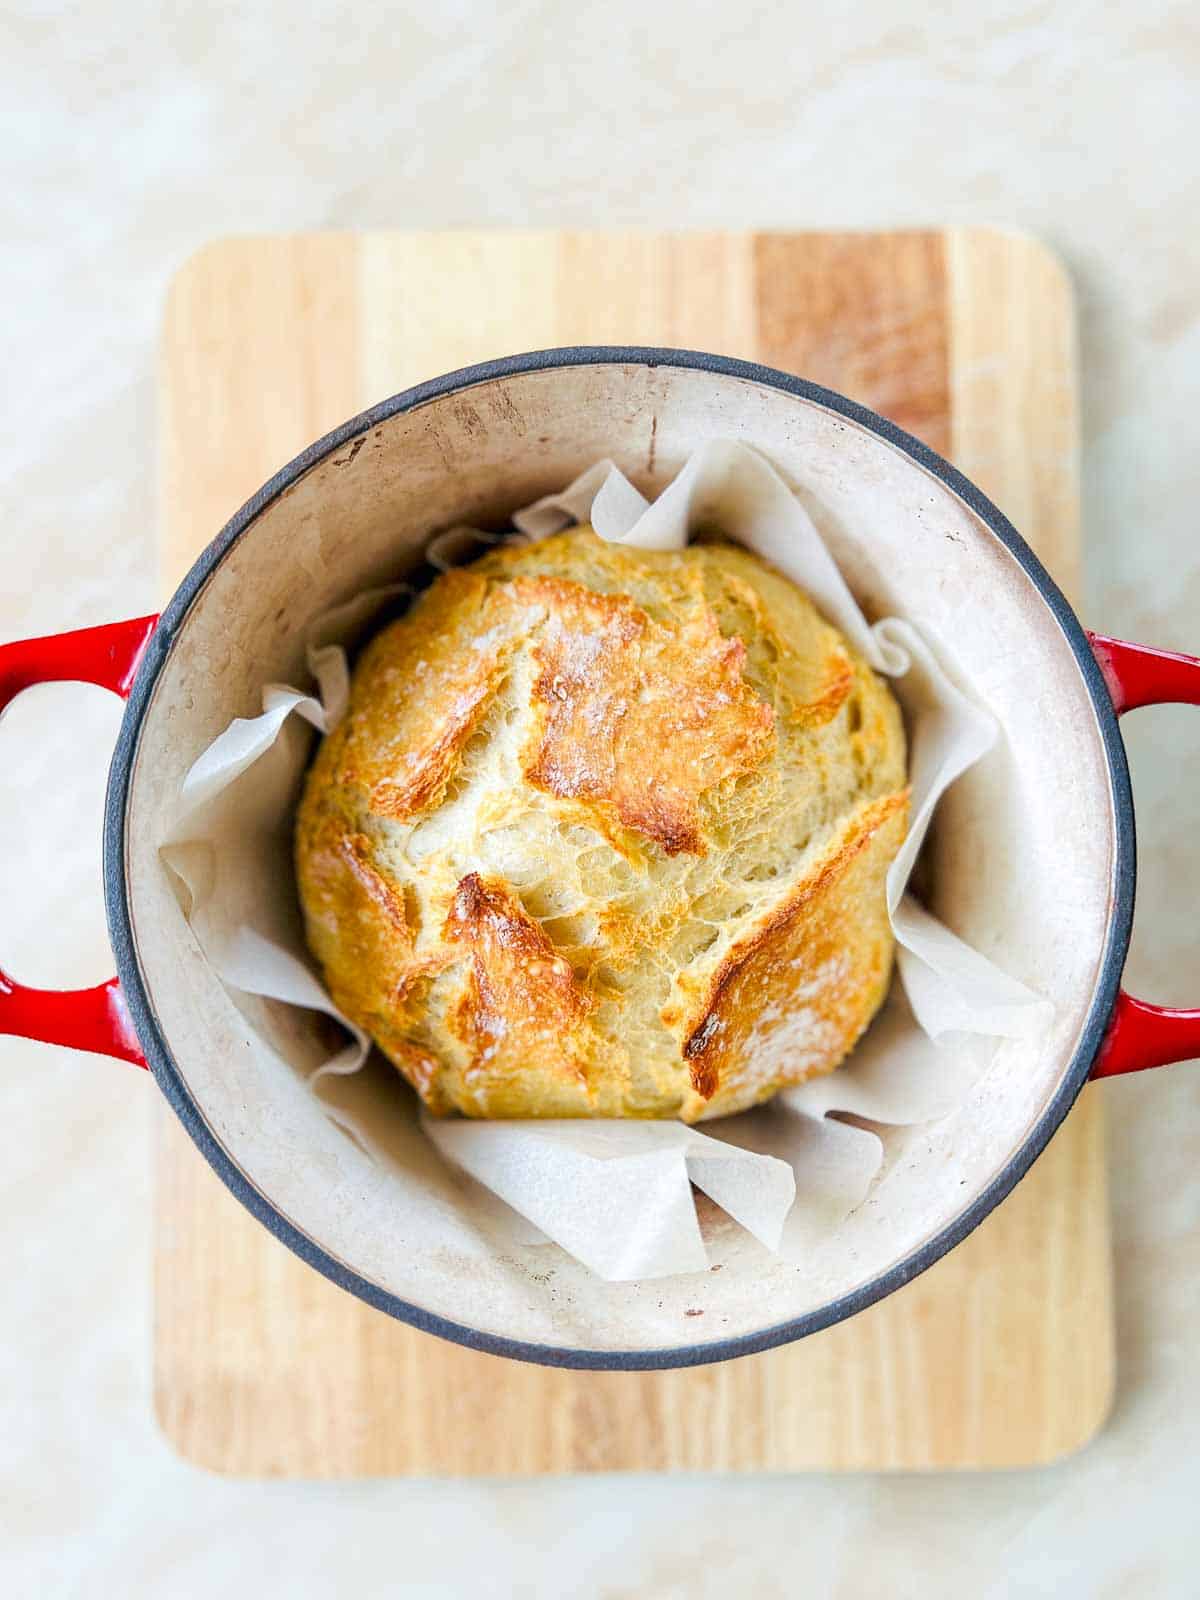
Step 7: After 20 minutes, remove the lid and bake for 15 minutes or until the crust is golden brown.

Step 8: Let the bread cool down for about an hour before slicing.
Expert Tips
- Ensure the water temperature is lukewarm. Too hot kills the yeast, while too cold slows its activity.
- Don’t be tempted to add extra flour! Due to its high hydration, the dough will be naturally sticky. Adding more flour will result in a denser, less airy loaf.
- Preheat the Dutch oven thoroughly before baking. This creates a steamy environment, essential for achieving a crisp crust.
- Ideally, we want the bread to cool completely before slicing. This allows the crumb to set and prevents it from being gummy. If you are in a hurry, wait at least one hour before slicing it.
- Store the bread at room temperature for up to 2 days. Avoid the refrigerator, as it can dry out the bread. For longer storage, slice and freeze individual portions in airtight containers or freezer bags. To reheat, simply toast individual slices or warm the entire loaf in a 350 F oven for 5-10 minutes.
Serving Suggestions
- Classic Bread and Butter: Enjoy slices of this bread fresh from the oven with a generous spread of butter for a simple and satisfying breakfast or snack. This is a classic way to enjoy any bread, like this homemade baguette.
- Sandwiches: Use this bread to create delicious sandwiches with your favorite fillings, such as meats, cheeses, and fresh vegetables. My favorite is this chickpea salad sandwich.
- Toast: Toast the slices until golden brown and serve with your choice of toppings, such as jam, honey, or avocado, for a quick and tasty breakfast or snack.
- Soup Accompaniment: Serve slices of this bread alongside a bowl of your favorite soup for dipping or soaking up the flavors.

Take a trip around the globe with this collection of 40 types of bread from A to Z.
If you tried this Easy No-Knead Yeast Bread Recipe or any other recipe on my website, please leave a 🌟 star rating and let me know how it went in the 📝 comments below.
Equipment
- Dutch oven
- Food thermometer
Ingredients
- 3½ cups bread flour (420 grams)
- 2 teaspoons instant yeast also called rapid-rise yeast
- 1 teaspoons salt
- 1½ cups water warm (around 100℉)
Instructions
- Mix the Dough: In a large bowl, combine together the flour, yeast, and salt. Gradually add the warm water, mixing until a sticky dough forms. The dough will be very wet and sticky at this stage.
- First Rise: Cover the bowl with a clean kitchen towel. Let the dough rise at room temperature for 2-3 hours or until doubled in size. You can also let it rise overnight in the refrigerator.
- Preheat your oven to 450℉ and preheat your Dutch oven or pot with the lid on for 30 minutes.
- Shaping: On a lightly floured surface, gently fold the dough over itself a few times to form a rough round loaf. You don't need to knead it. Place the dough seam-side down on baking paper dusted with flour.
- Baking: Carefully remove the hot Dutch oven from the oven and lift the dough into the pot. Cover the pot with the lid and bake for 20 minutes.
- After 20 minutes, remove the lid and bake for 20 minutes or until the crust is golden brown. Let the bread cool for at least one hour on a wire rack before slicing.
Notes
- Ensure the water temperature is lukewarm. Too hot kills the yeast, while too cold slows its activity.
- Don’t be tempted to add extra flour! Due to its high hydration, the dough will be naturally sticky. Adding more flour will result in a denser, less airy loaf.
- Preheat the Dutch oven thoroughly before baking. This creates a steamy environment, essential for achieving a crisp crust.
- Ideally, we want the bread to cool completely before slicing. This allows the crumb to set and prevents it from being gummy. If you are in a hurry, wait at least one hour before slicing it.