10 Must-Know Tips To Start Your Gluten-Free Bread-Baking Journey
Gluten-free bread baking can be a rewarding adventure, but it comes with its own challenges. Unlike traditional wheat flour, gluten-free flours behave differently. But fear not! This guide will help you troubleshoot common problems and bake delicious gluten-free bread!

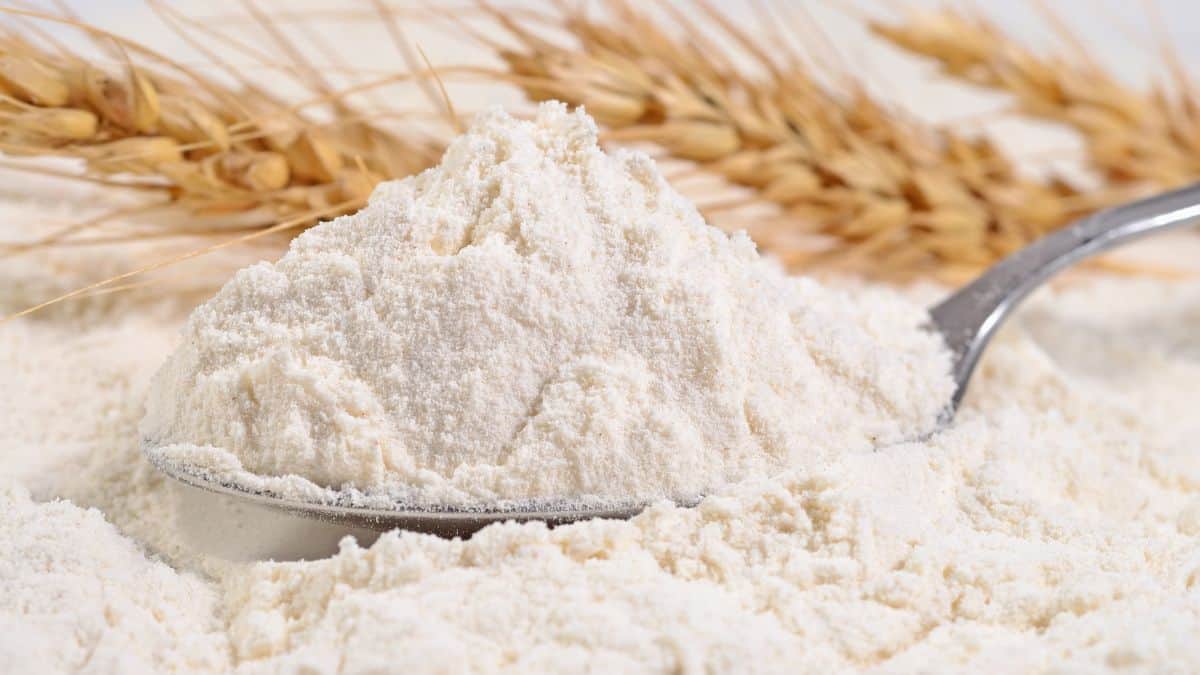
Measure the Ingredients by Weight
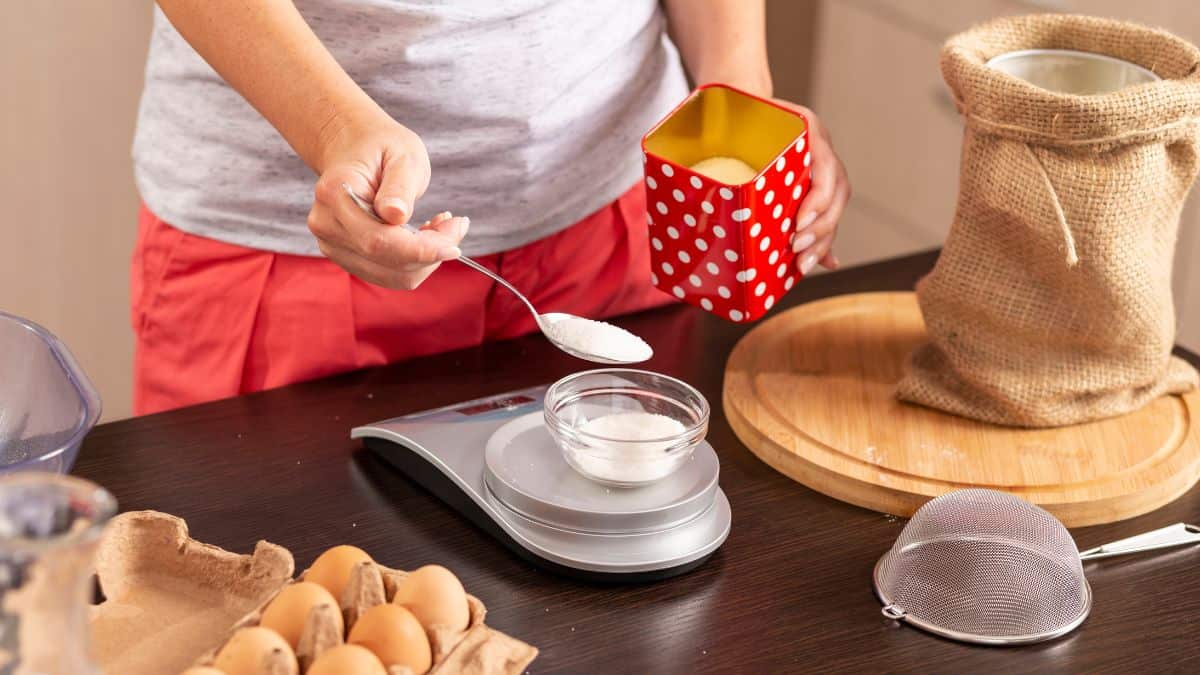
Invest in a kitchen scale for accurate measurements. Gluten-free flours like almond flour or coconut flour can be denser than wheat flour, and scooping them from the bag can lead to inconsistencies. Weighing ensures the correct proportions for successful baking.
Know Your Flours
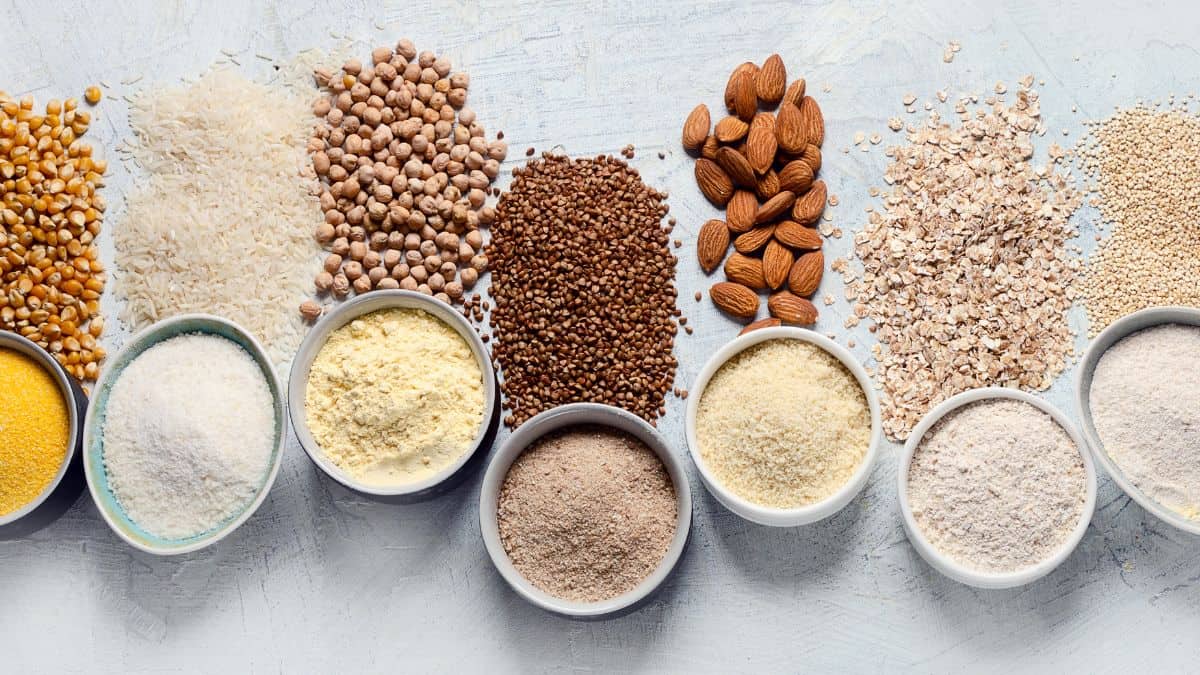
Gluten-free flours come in a variety of textures and absorbencies. Popular options include almond flour, coconut flour, rice flour, and tapioca flour. Many recipes use blends specifically formulated for gluten-free baking, as they offer a good balance of texture and moisture. Read labels carefully and experiment with different blends to find your favorites.
Spoon NOT Scoop
Don’t compact your flour by scooping it directly from the bag! Aerate the flour using a fork and gently spoon it into the measuring cup. Level off the top with a flat knife to ensure an accurate measurement.
Room Temperature Ingredients
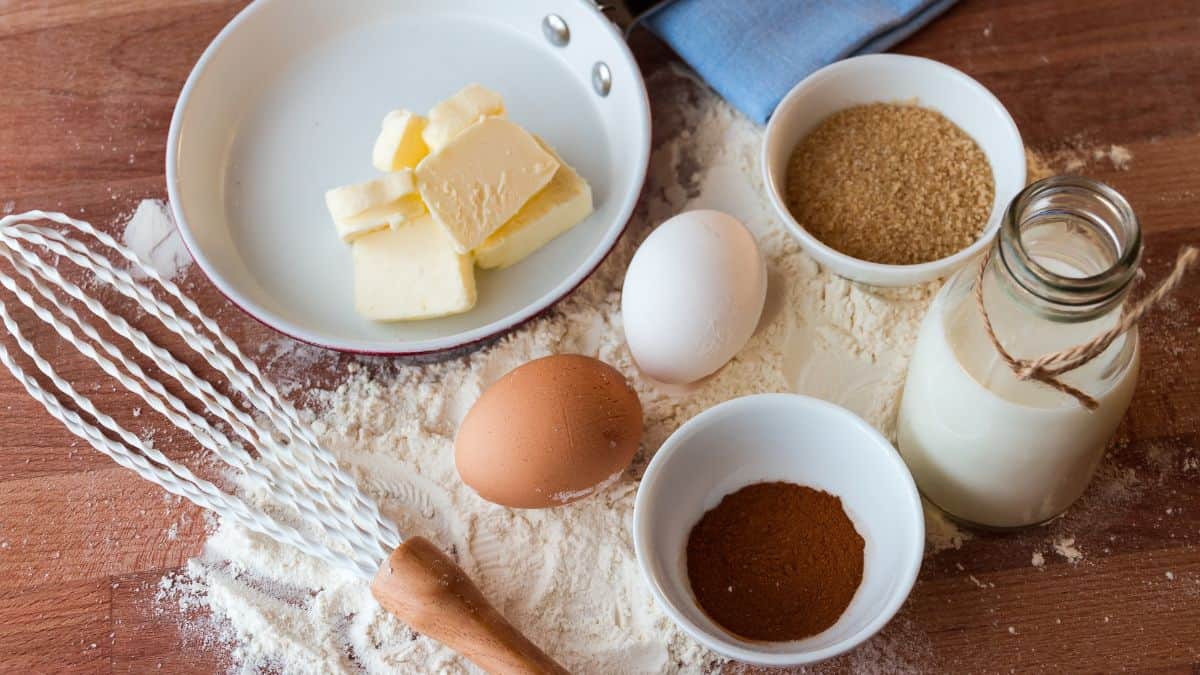
Bringing ingredients like eggs and dairy to room temperature before baking allows them to mix more evenly, resulting in better texture and rise in gluten-free bread. Take the eggs, milk, and butter from the refrigerator at least 30 minutes before baking.
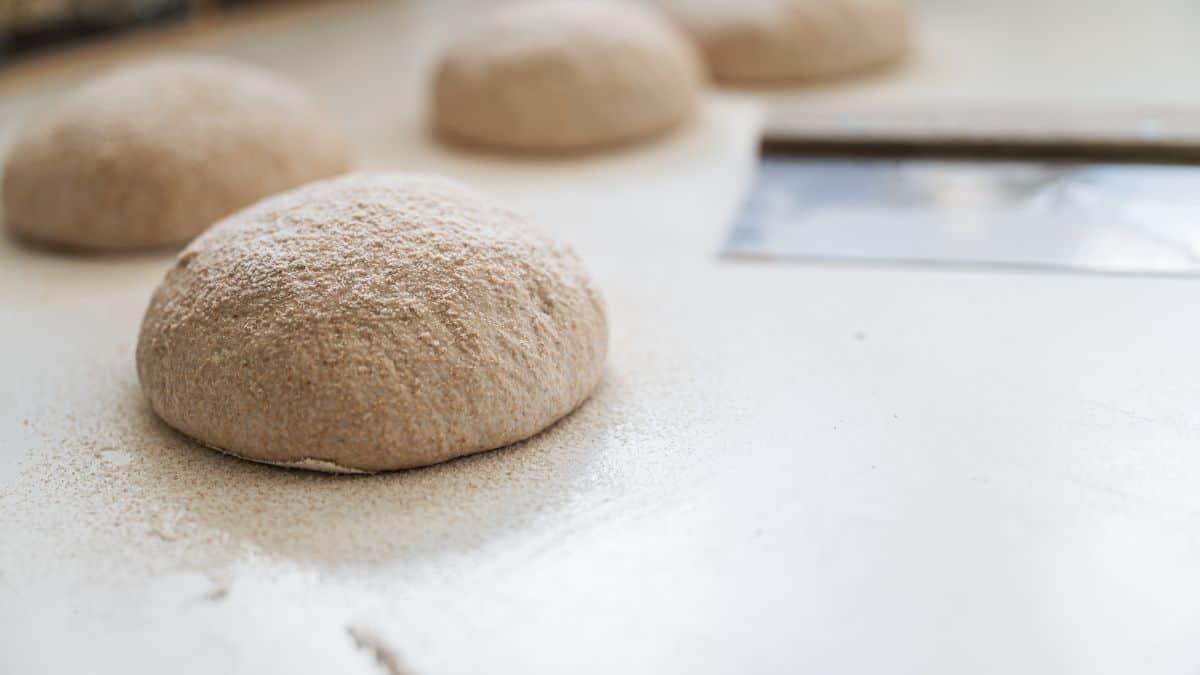
Embrace the Sticky
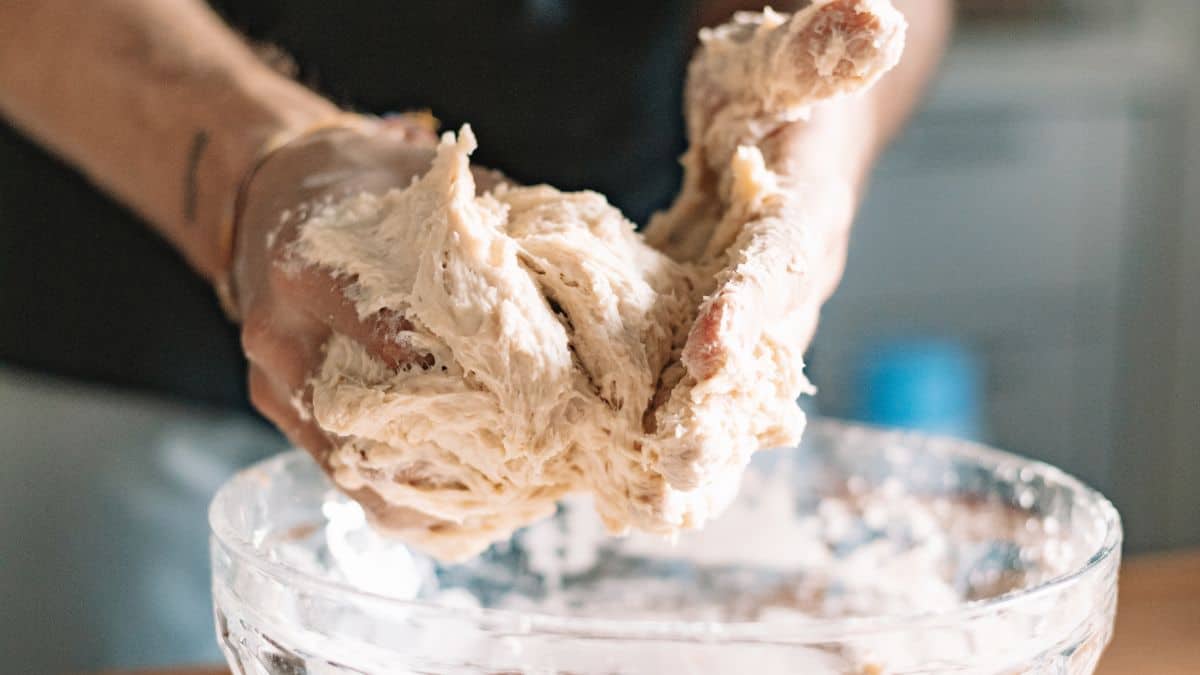
Unlike traditional dough, gluten-free dough tends to be stickier due to the absence of gluten. Don’t be afraid of a slightly sticky consistency. Resist the urge to add too much extra flour, which can lead to a dense and crumbly loaf.
Mix Thoroughly
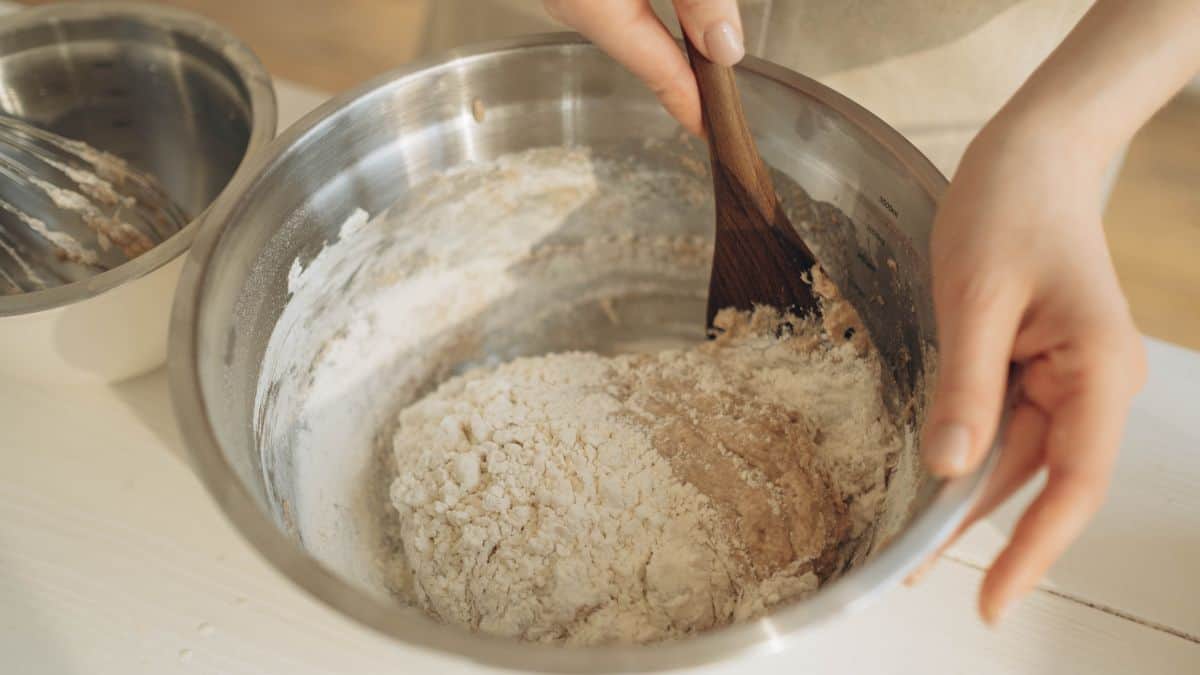
There is no such thing as “overmixing” in gluten-free breads. Gluten-free flours tend to clump together more than wheat flour. Mixing the ingredients thoroughly ensures even distribution and hydration, preventing dry or gritty spots in the finished bread.
The Power of Resting
After mixing your gluten-free dough, let it rest for 15-30 minutes. This allows the flour to absorb moisture, contributing to a better texture. Some recipes might call for a longer resting period, so be sure to follow the specific instructions.
Preheating is Crucial
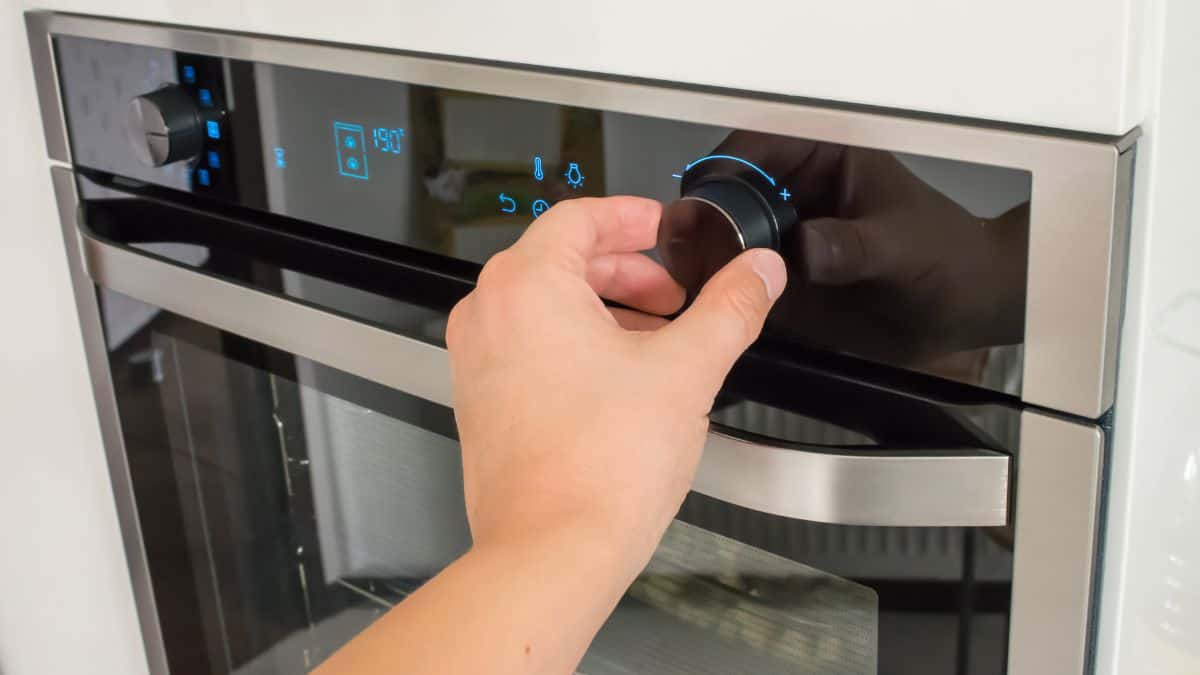
Gluten-free bread often relies on a strong initial burst of heat to set the structure. Always preheat the oven according to the recipe for the best results. Use an oven thermometer to ensure accurate temperature.
Cool Completely
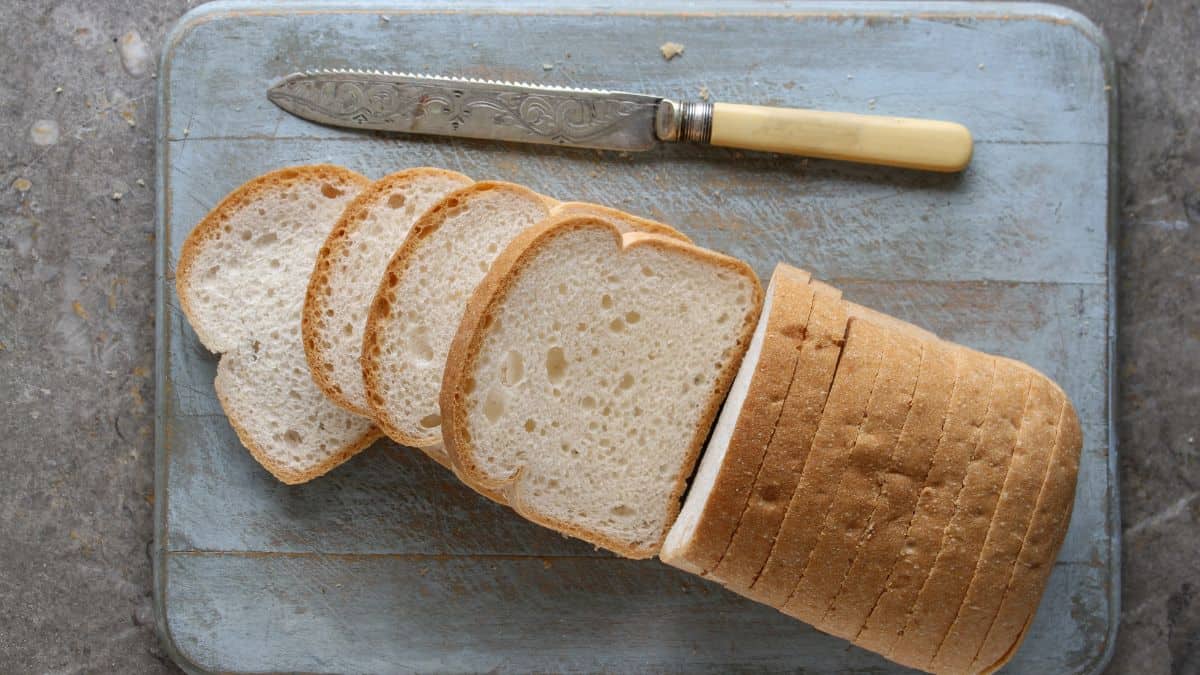
Gluten-free bread tends to be more fragile than wheat bread. Allow it to cool completely on a wire rack before slicing. This prevents crumbling and allows moisture to redistribute for a more even texture. Resist the urge to slice into a warm loaf!
Pay Attention to the Bake
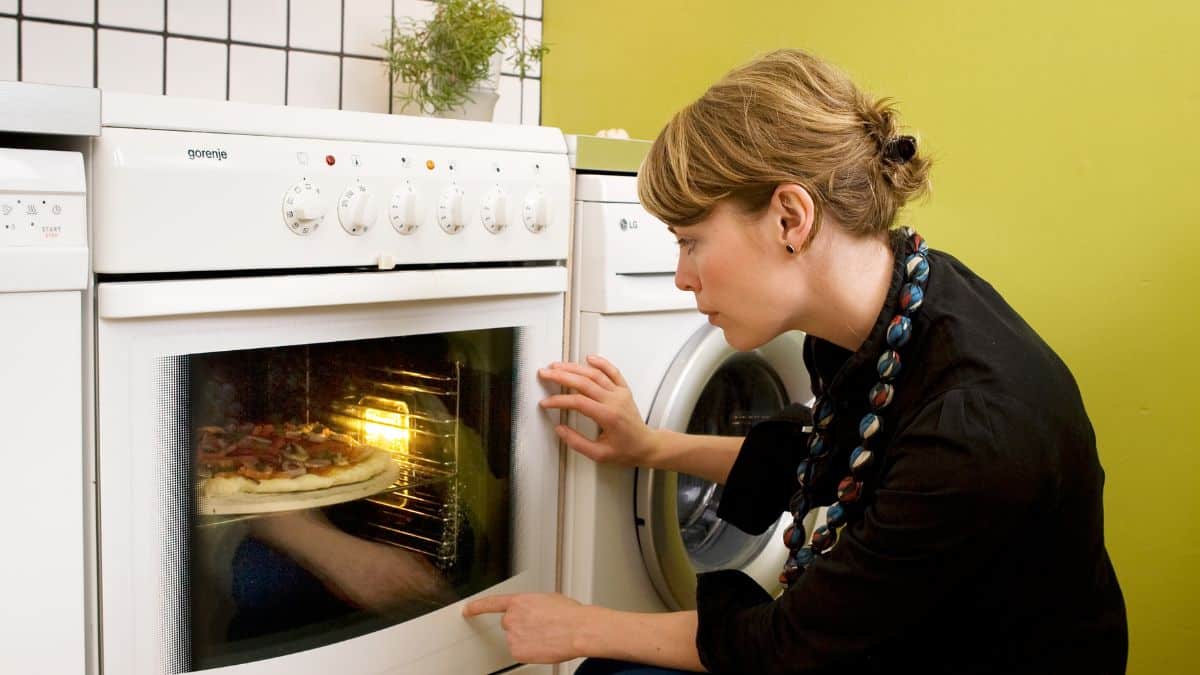
Keep an eye on the bread throughout the baking process. Since gluten-free flours behave differently, baking times might vary slightly. If your bread browns too quickly, reduce the baking temperature slightly or cover loosely with foil towards the end of baking.